
 Deutsch
 Italiano
 Français
Installation & Placement of Sacrificial Anodes
Sacrificial anodes have numerous applications and, thanks to their versatility, are widely used in both the maritime sector and industry. For sacrificial anodes to be effective, a conductive connection to the components to be protected is essential, and both components must be immersed in the same electrolyte. Only then can the oxygen dissolved in the water act as a common electron carrier.
You can find detailed information on this in our information booklet, as well as in the ‘Useful Information’ section and the FAQs on our website.
To ensure the correct installation of sacrificial anodes, we provide some examples below of how to position and secure them properly.
Outboard Motors


History
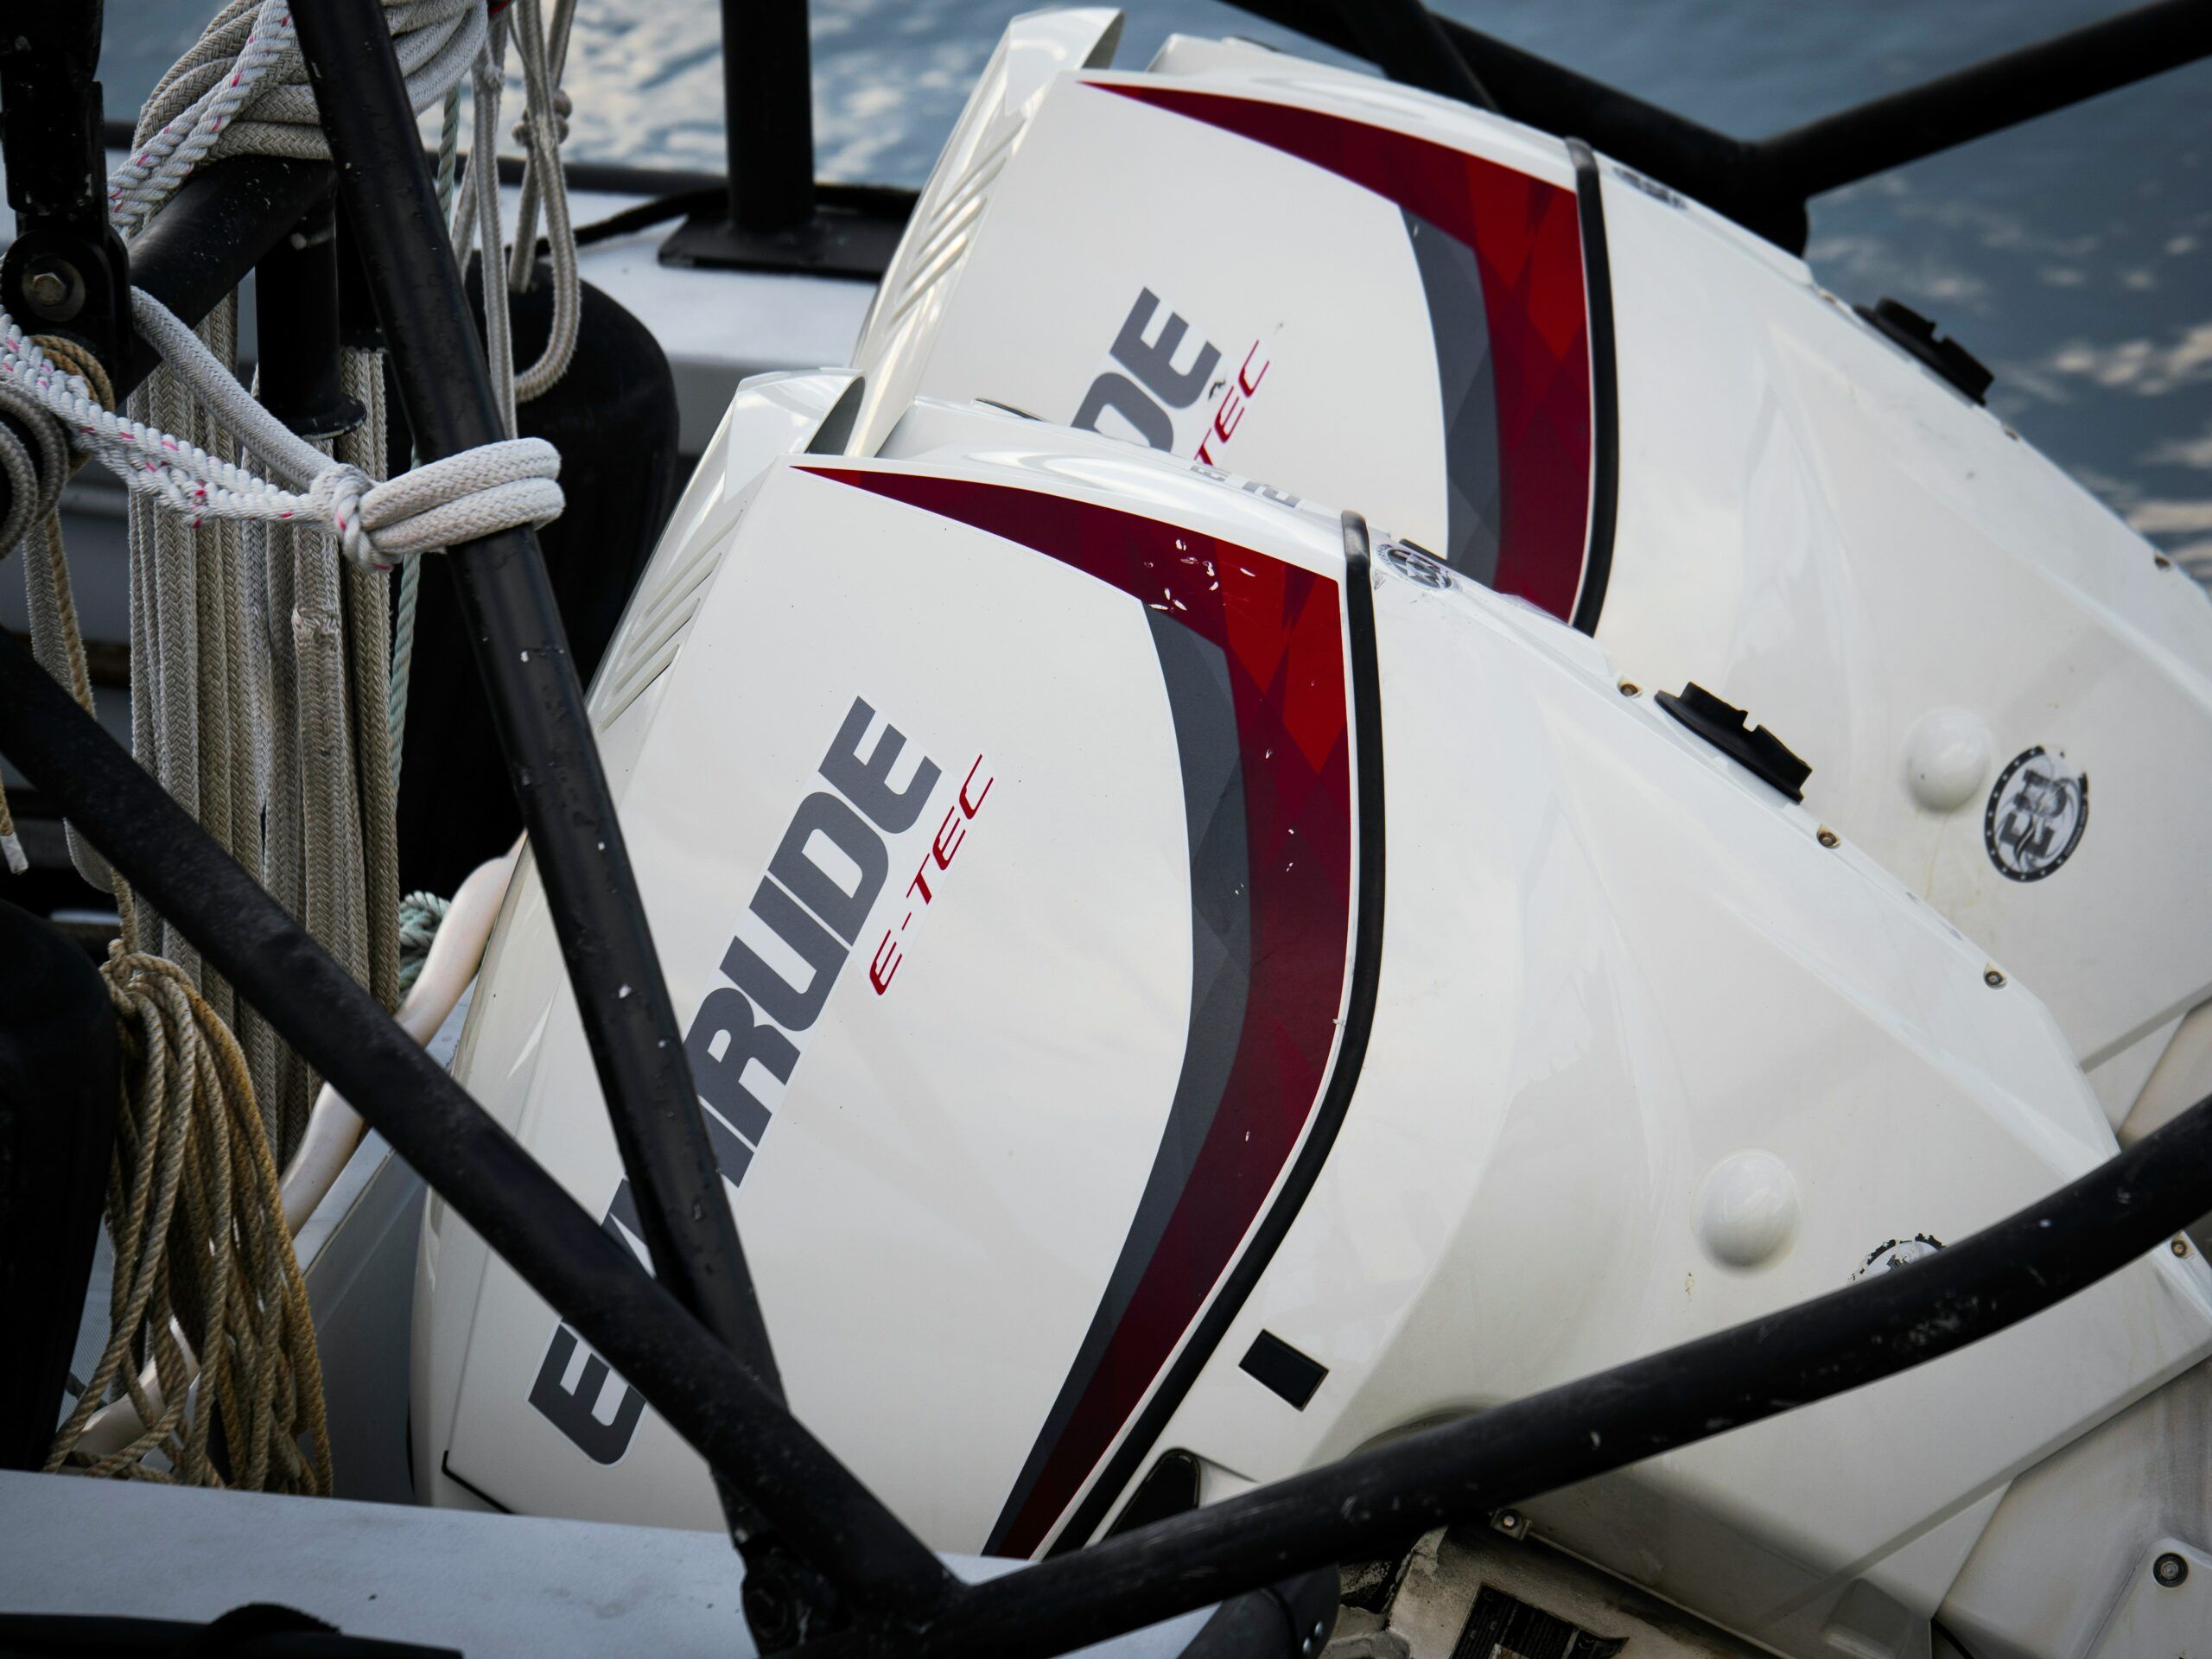
The first functional outboard motor was developed in 1906 by Ole Evinrude, a Norwegian-American inventor. His design made it possible to operate boats more efficiently and at higher speeds than ever before. Outboard motors were continuously improved over the following decades, with major advances in performance and reliability being achieved particularly during the 1950s and 1960s. Today, outboard motors are available in a wide range of sizes and power ratings for both recreational and professional applications.
Definition
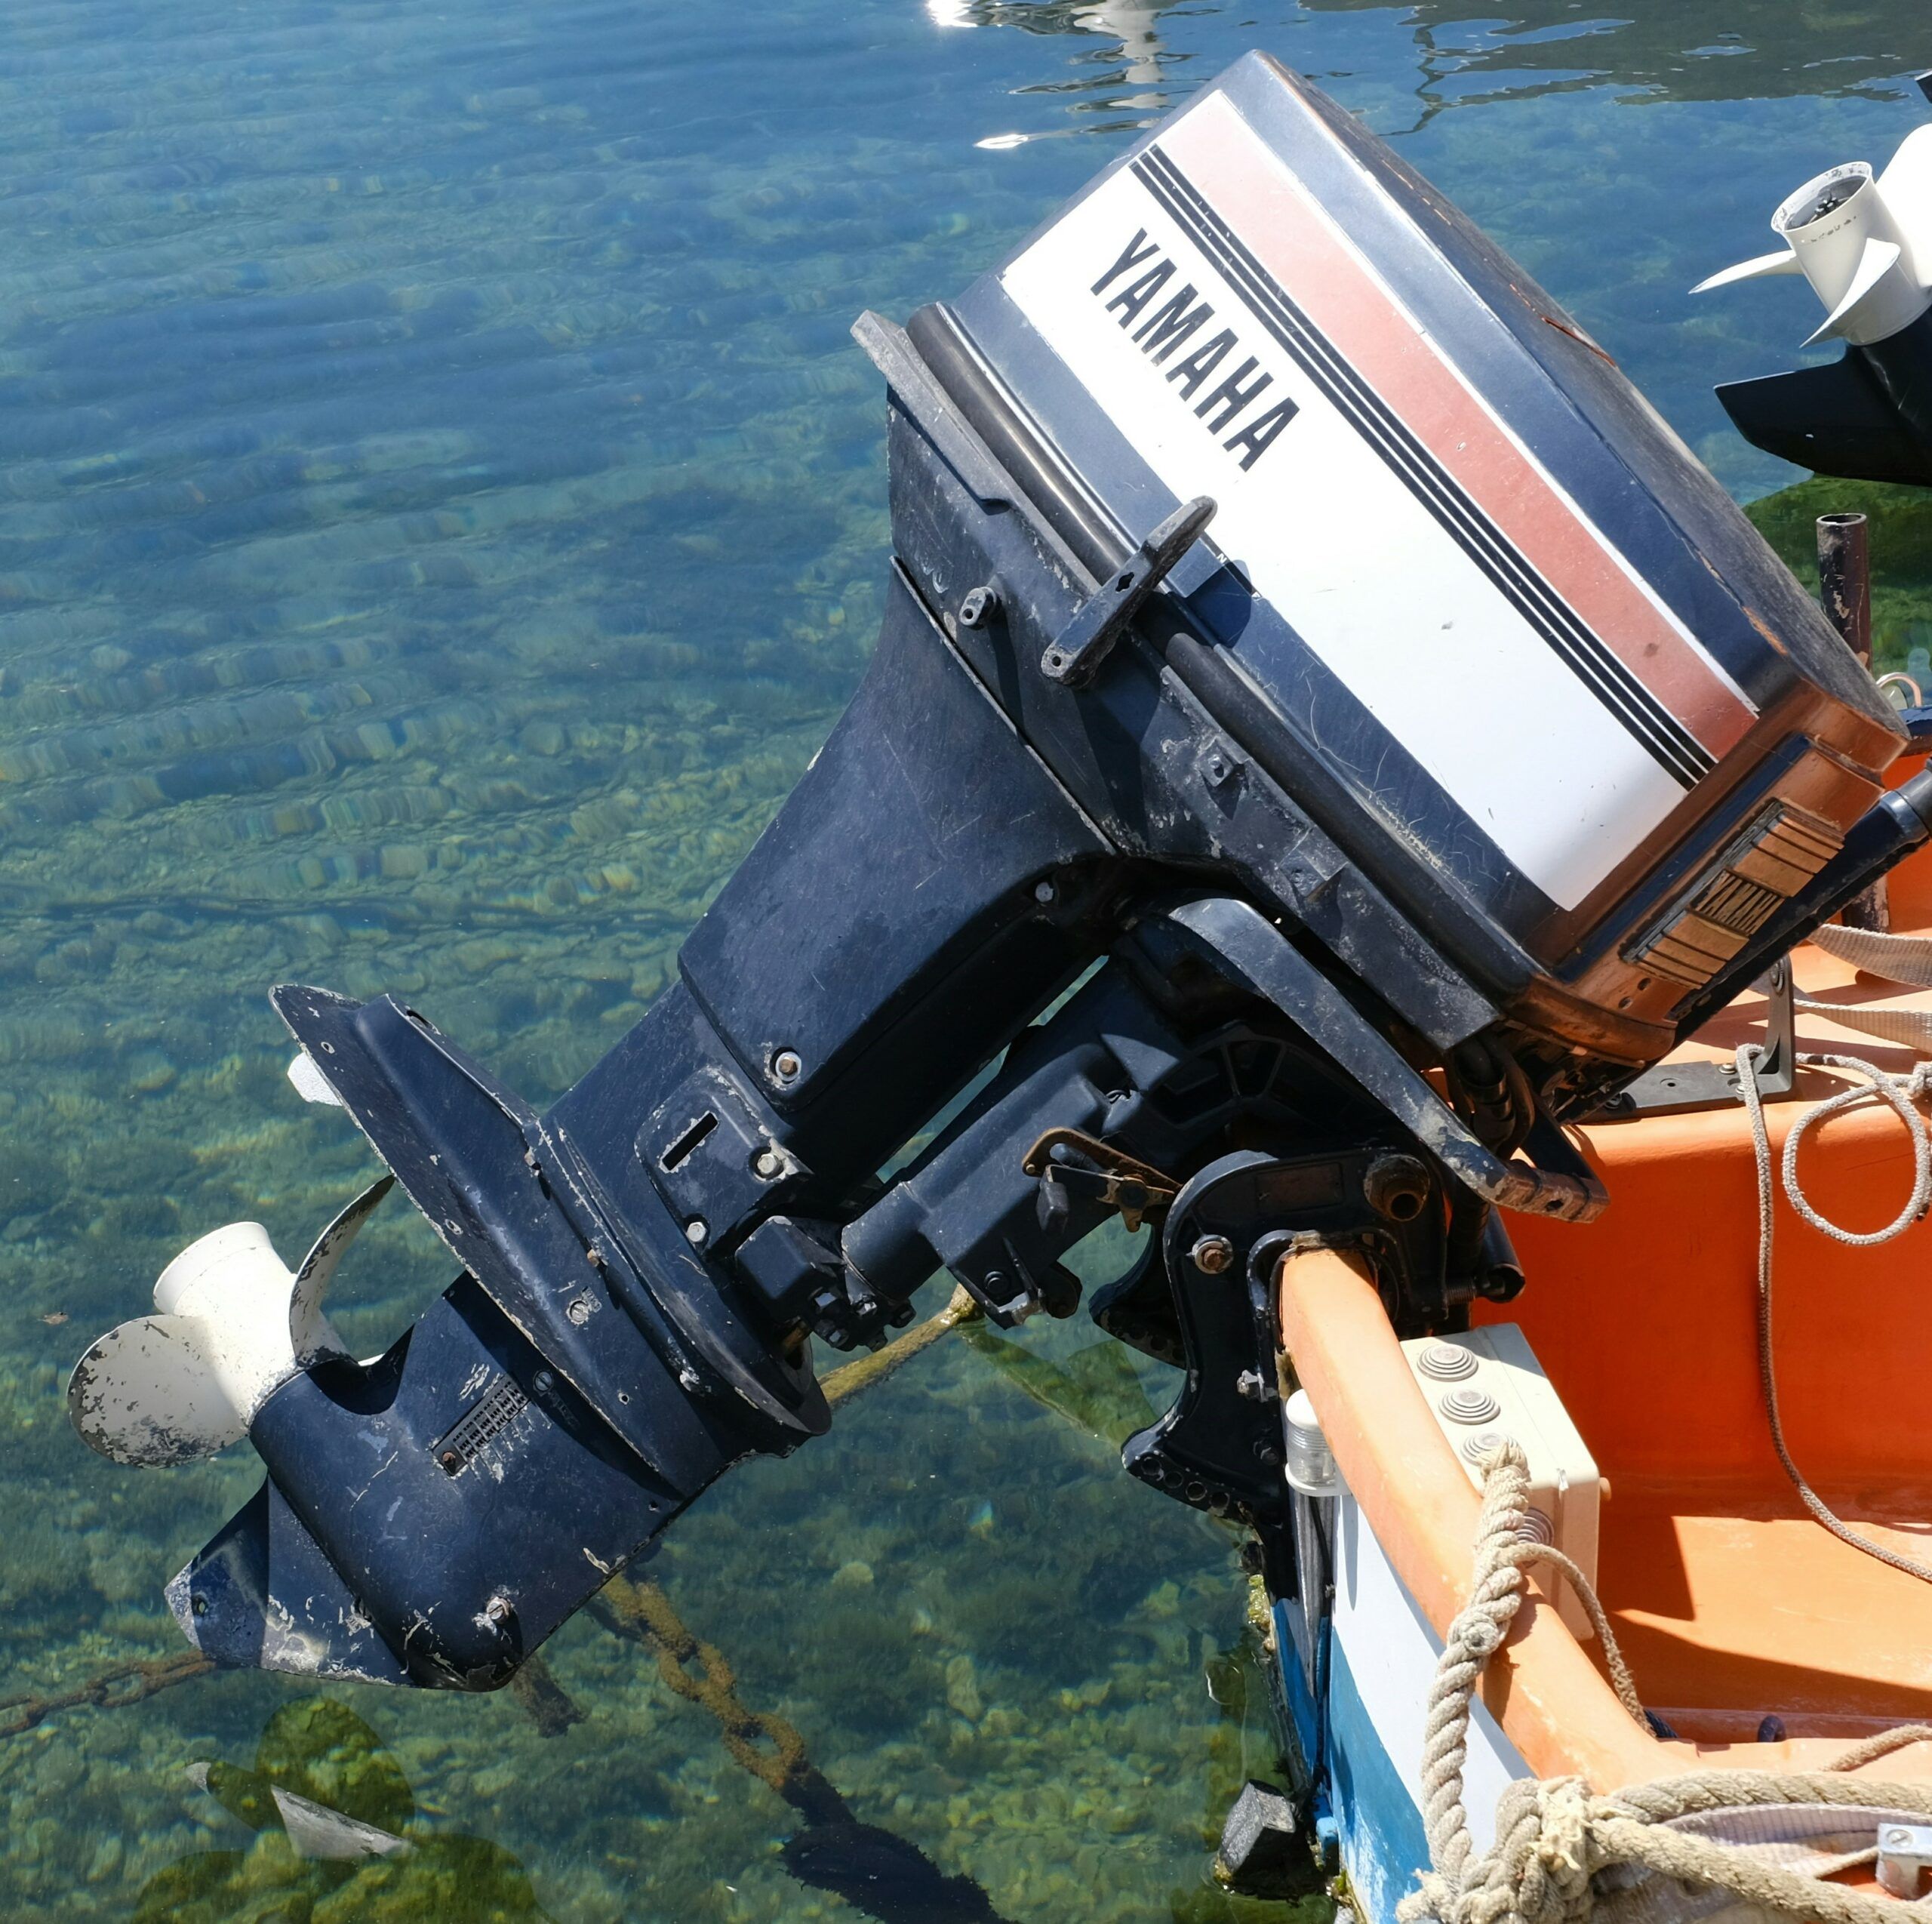
An outboard motor is a self-contained propulsion unit mounted externally on the transom of a boat. It combines the engine, gearbox and steering system in a single compact unit. Outboard motors are mainly used to propel and steer smaller watercraft. Their key advantages are that they are easy to replace and straightforward to maintain.
Choosing the Right Anode
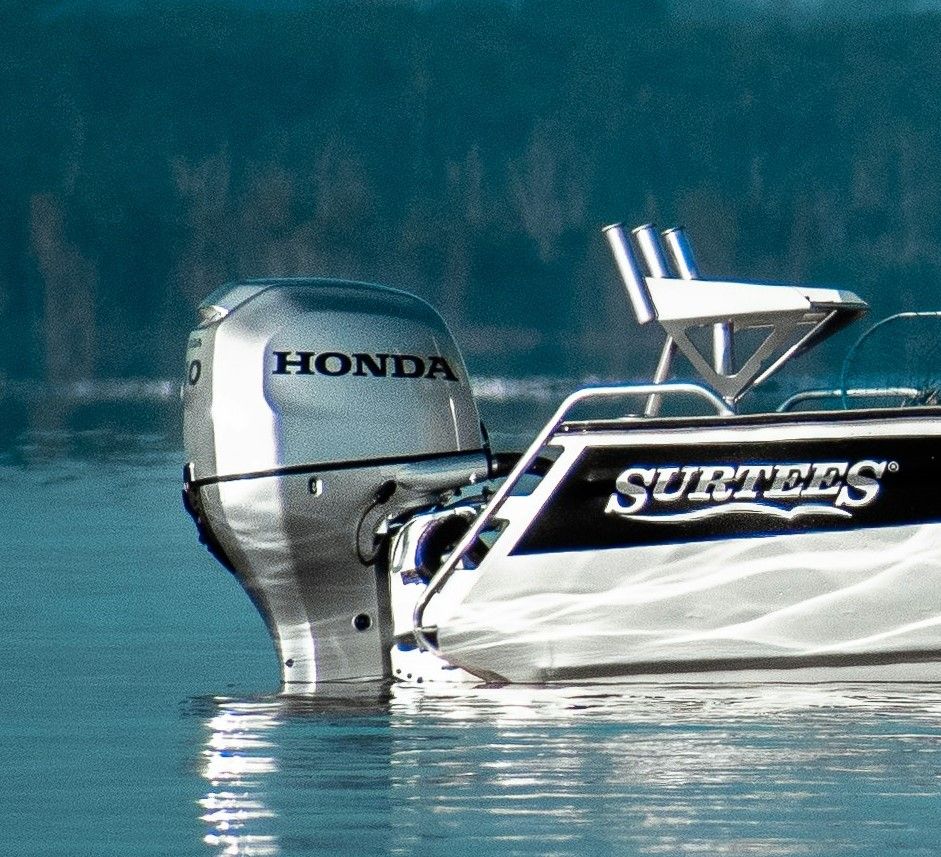
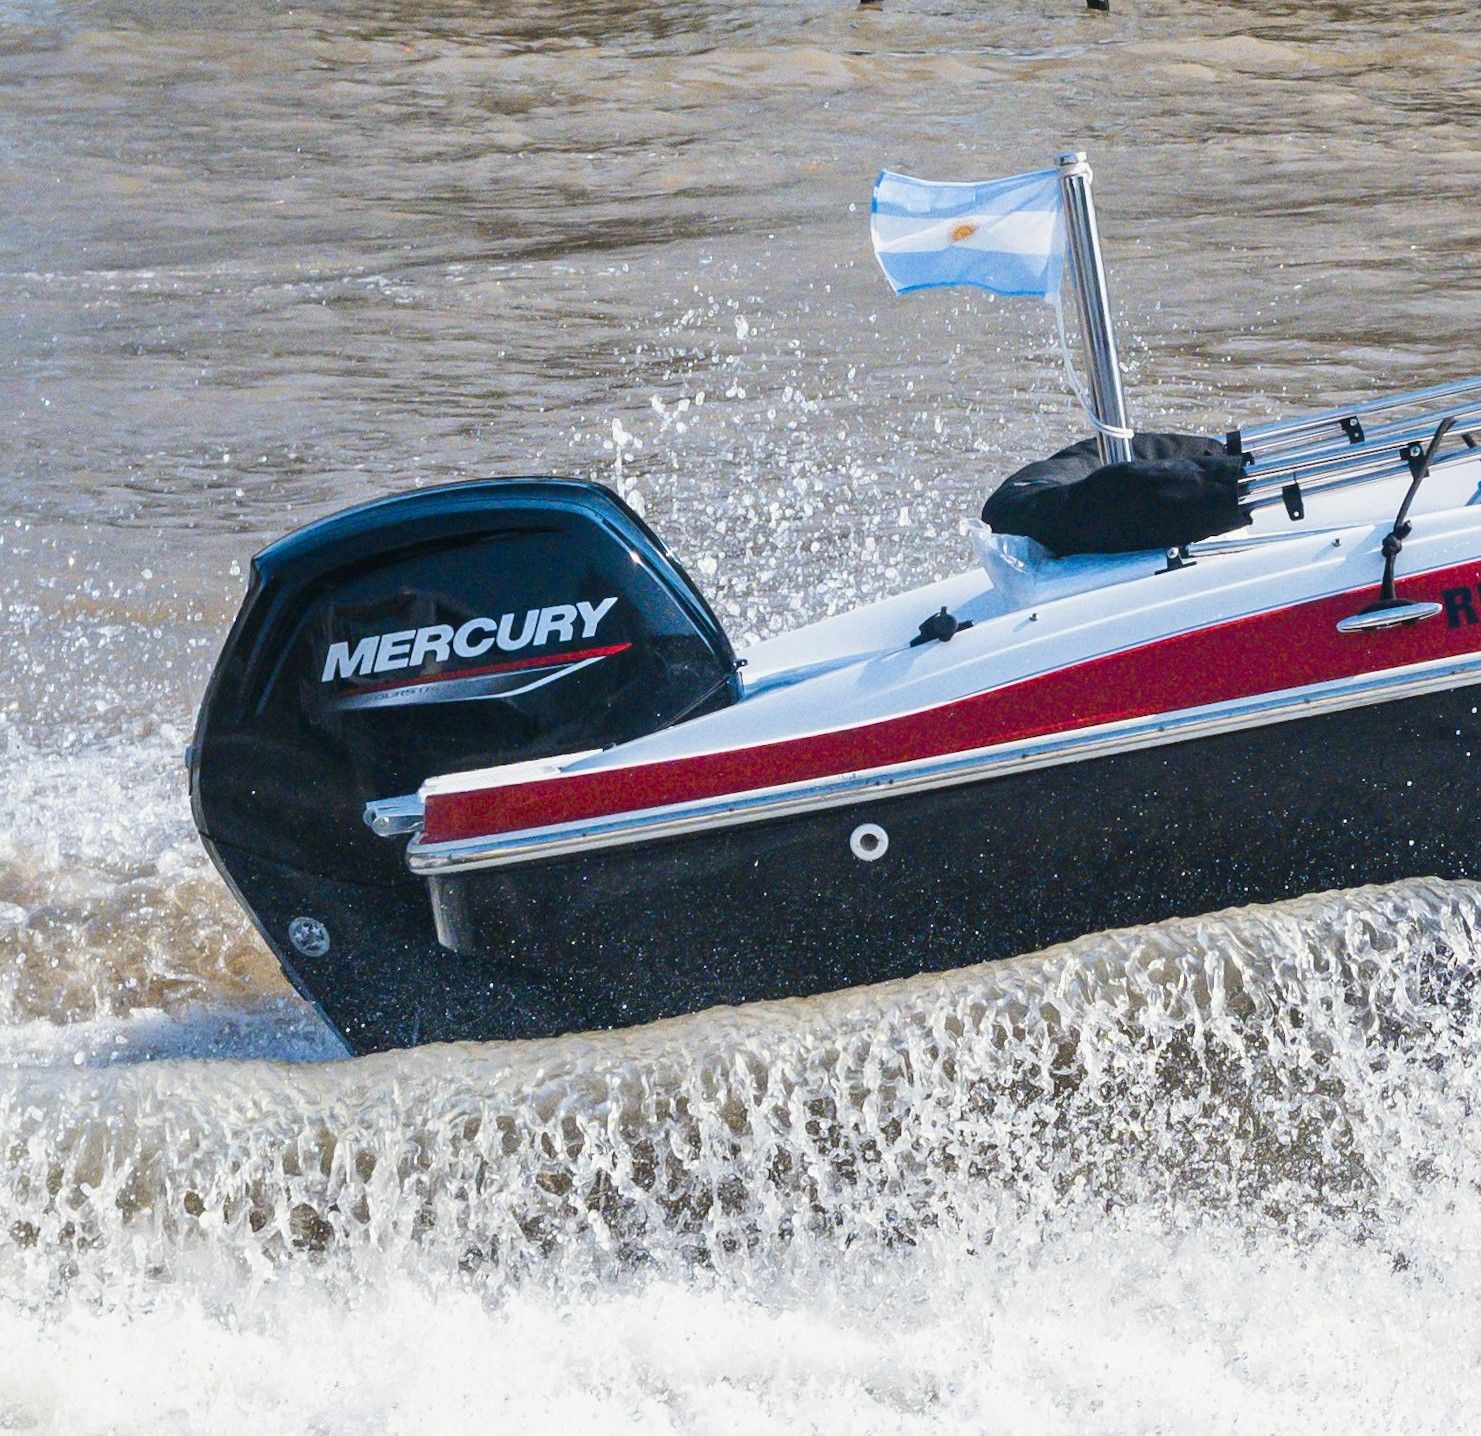
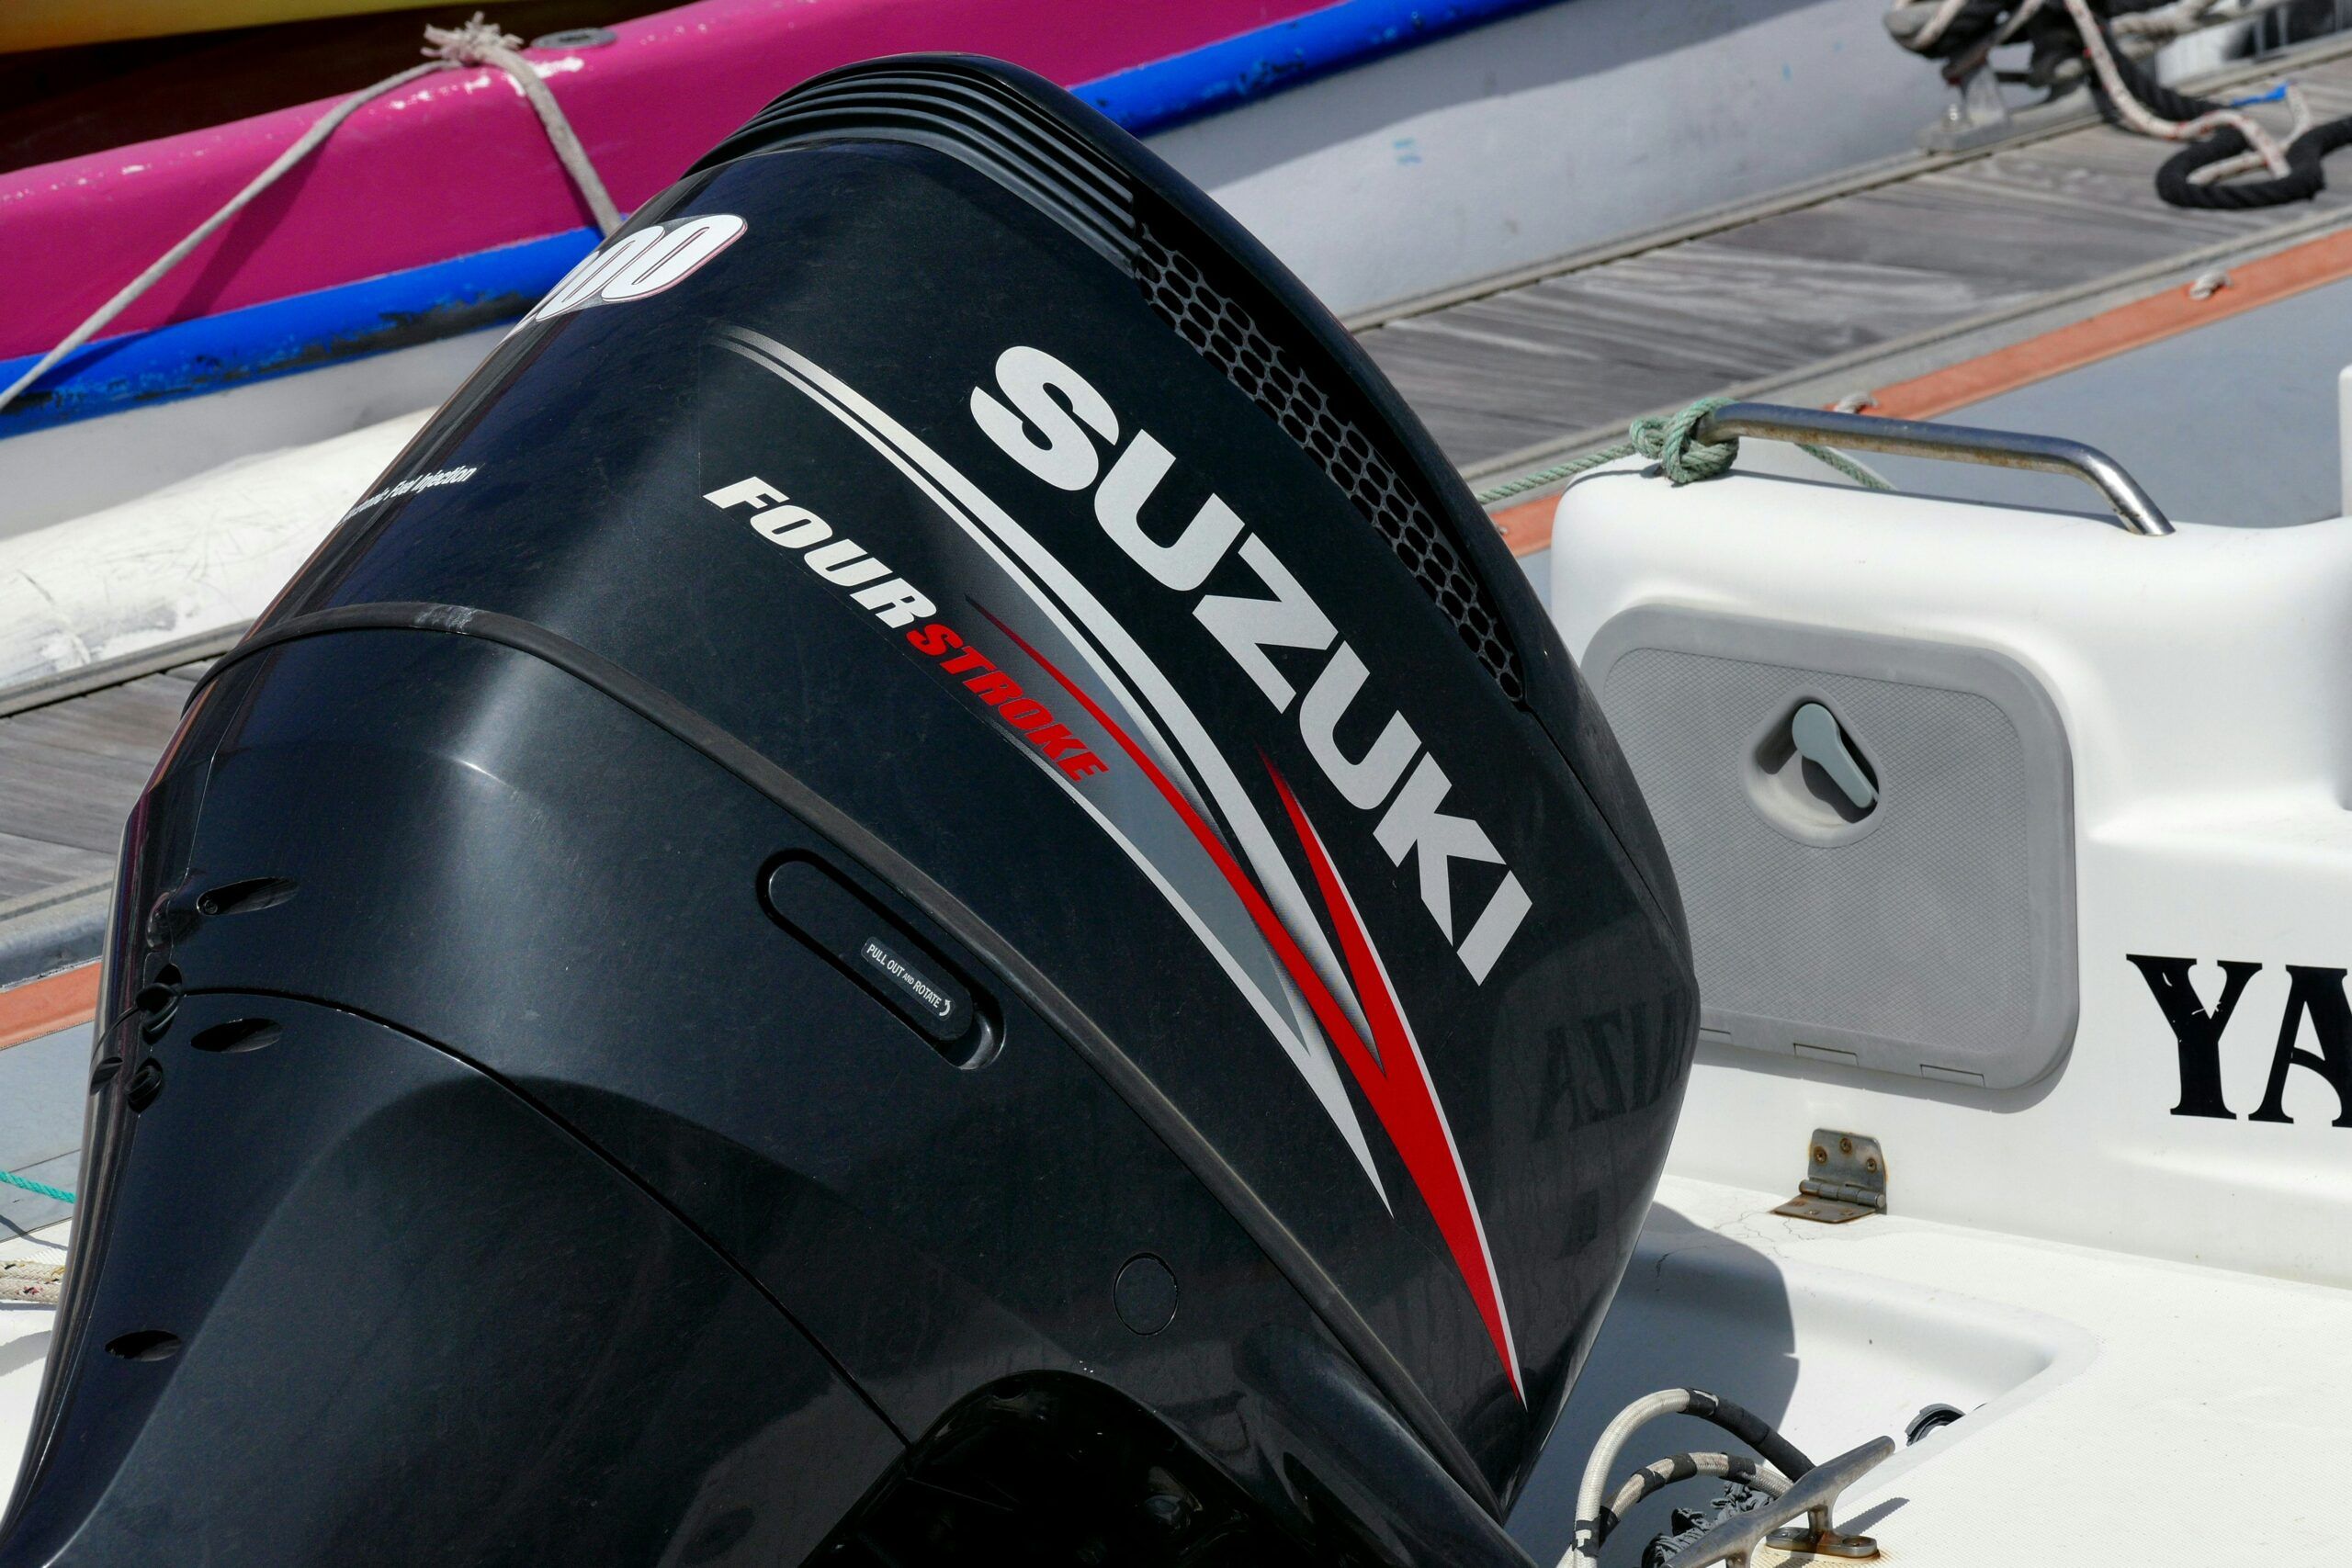
The anodes on outboard motors are installed in specific positions determined by the manufacturer. Their size and shape are precisely matched to the respective requirements to ensure optimum corrosion protection. Our anodes meet these manufacturer specifications exactly, providing the same precise fit and functionality.
To select the correct anode for your outboard motor, you will need information about the manufacturer, year of manufacture and model designation of your engine. This information can usually be found in the owner’s manual or in the documents provided by the manufacturer. Complete anode kits are also often available, so you do not have to select each anode individually.
We will be happy to help you choose the correct anode and provide you with comprehensive advice. – Contact us

Outboard Motor Categories
Zinc
For use in saltwater and brackish water.
Mercury
Suzuki
Yamaha &Yanmar
Aluminium
For use in freshwater and brackish water.
Honda
Mercury
Suzuki
Yamaha &Yanmar
Hull Anodes


 Zinc Hull Anodes – Saltwater & Brackish Water
Aluminium Hull Anodes – Freshwater & Brackish Water
Zinc Hull Anodes – Saltwater & Brackish Water
Aluminium Hull Anodes – Freshwater & Brackish Water

History & Definition
The history of hull anodes reflects the growing awareness of the importance of corrosion protection in the maritime industry. From the early discoveries of the 19th century to today’s highly advanced solutions, hull anodes have played a crucial role in protecting vessels against the destructive effects of corrosion. They are an essential component of modern vessels designed for durability and safety.
Choosing the Right Hull Anode
When choosing the correct hull anode, as with all other components, it is essential to begin by selecting the appropriate material. If your boat is mainly used in saltwater or brackish water with a high salt content, we recommend using zinc anodes. However, it is important to ensure that the hull material is compatible with the anode material. For example, using zinc anodes on an aluminium hull is generally not advisable. This is due to the electrochemical series, which determines how metals react with one another in a galvanic cell.
Aluminium anodes are particularly suitable for use in freshwater and brackish water. Although aluminium is also effective in water with a higher salt content, the increased conductivity of the electrolyte results in faster anode consumption. In such cases, the anodes should therefore be inspected regularly and replaced when necessary to ensure optimum corrosion protection.
For aluminium hulls, we recommend our AlZn5In anodes. Our customers have reported excellent results with this material combination in terms of its protective performance.
Determining the Required Anode Mass
Once the appropriate anode material has been selected, the size and shape of the anodes can be determined. The key factor is calculating the underwater surface area that requires protection, which can be done using our anode calculator. The calculator is based on the three most common hull types: motorboat, short-keel yacht and long-keel yacht. By entering the required hull dimensions, you will receive the optimum anode mass, which should be distributed evenly across the hull anodes.
If you need assistance with the calculation or selecting the correct anodes, our service team will be happy to help. We will analyse the specific requirements of your boat and ensure that its hull is optimally protected against corrosion.
Anode Calculator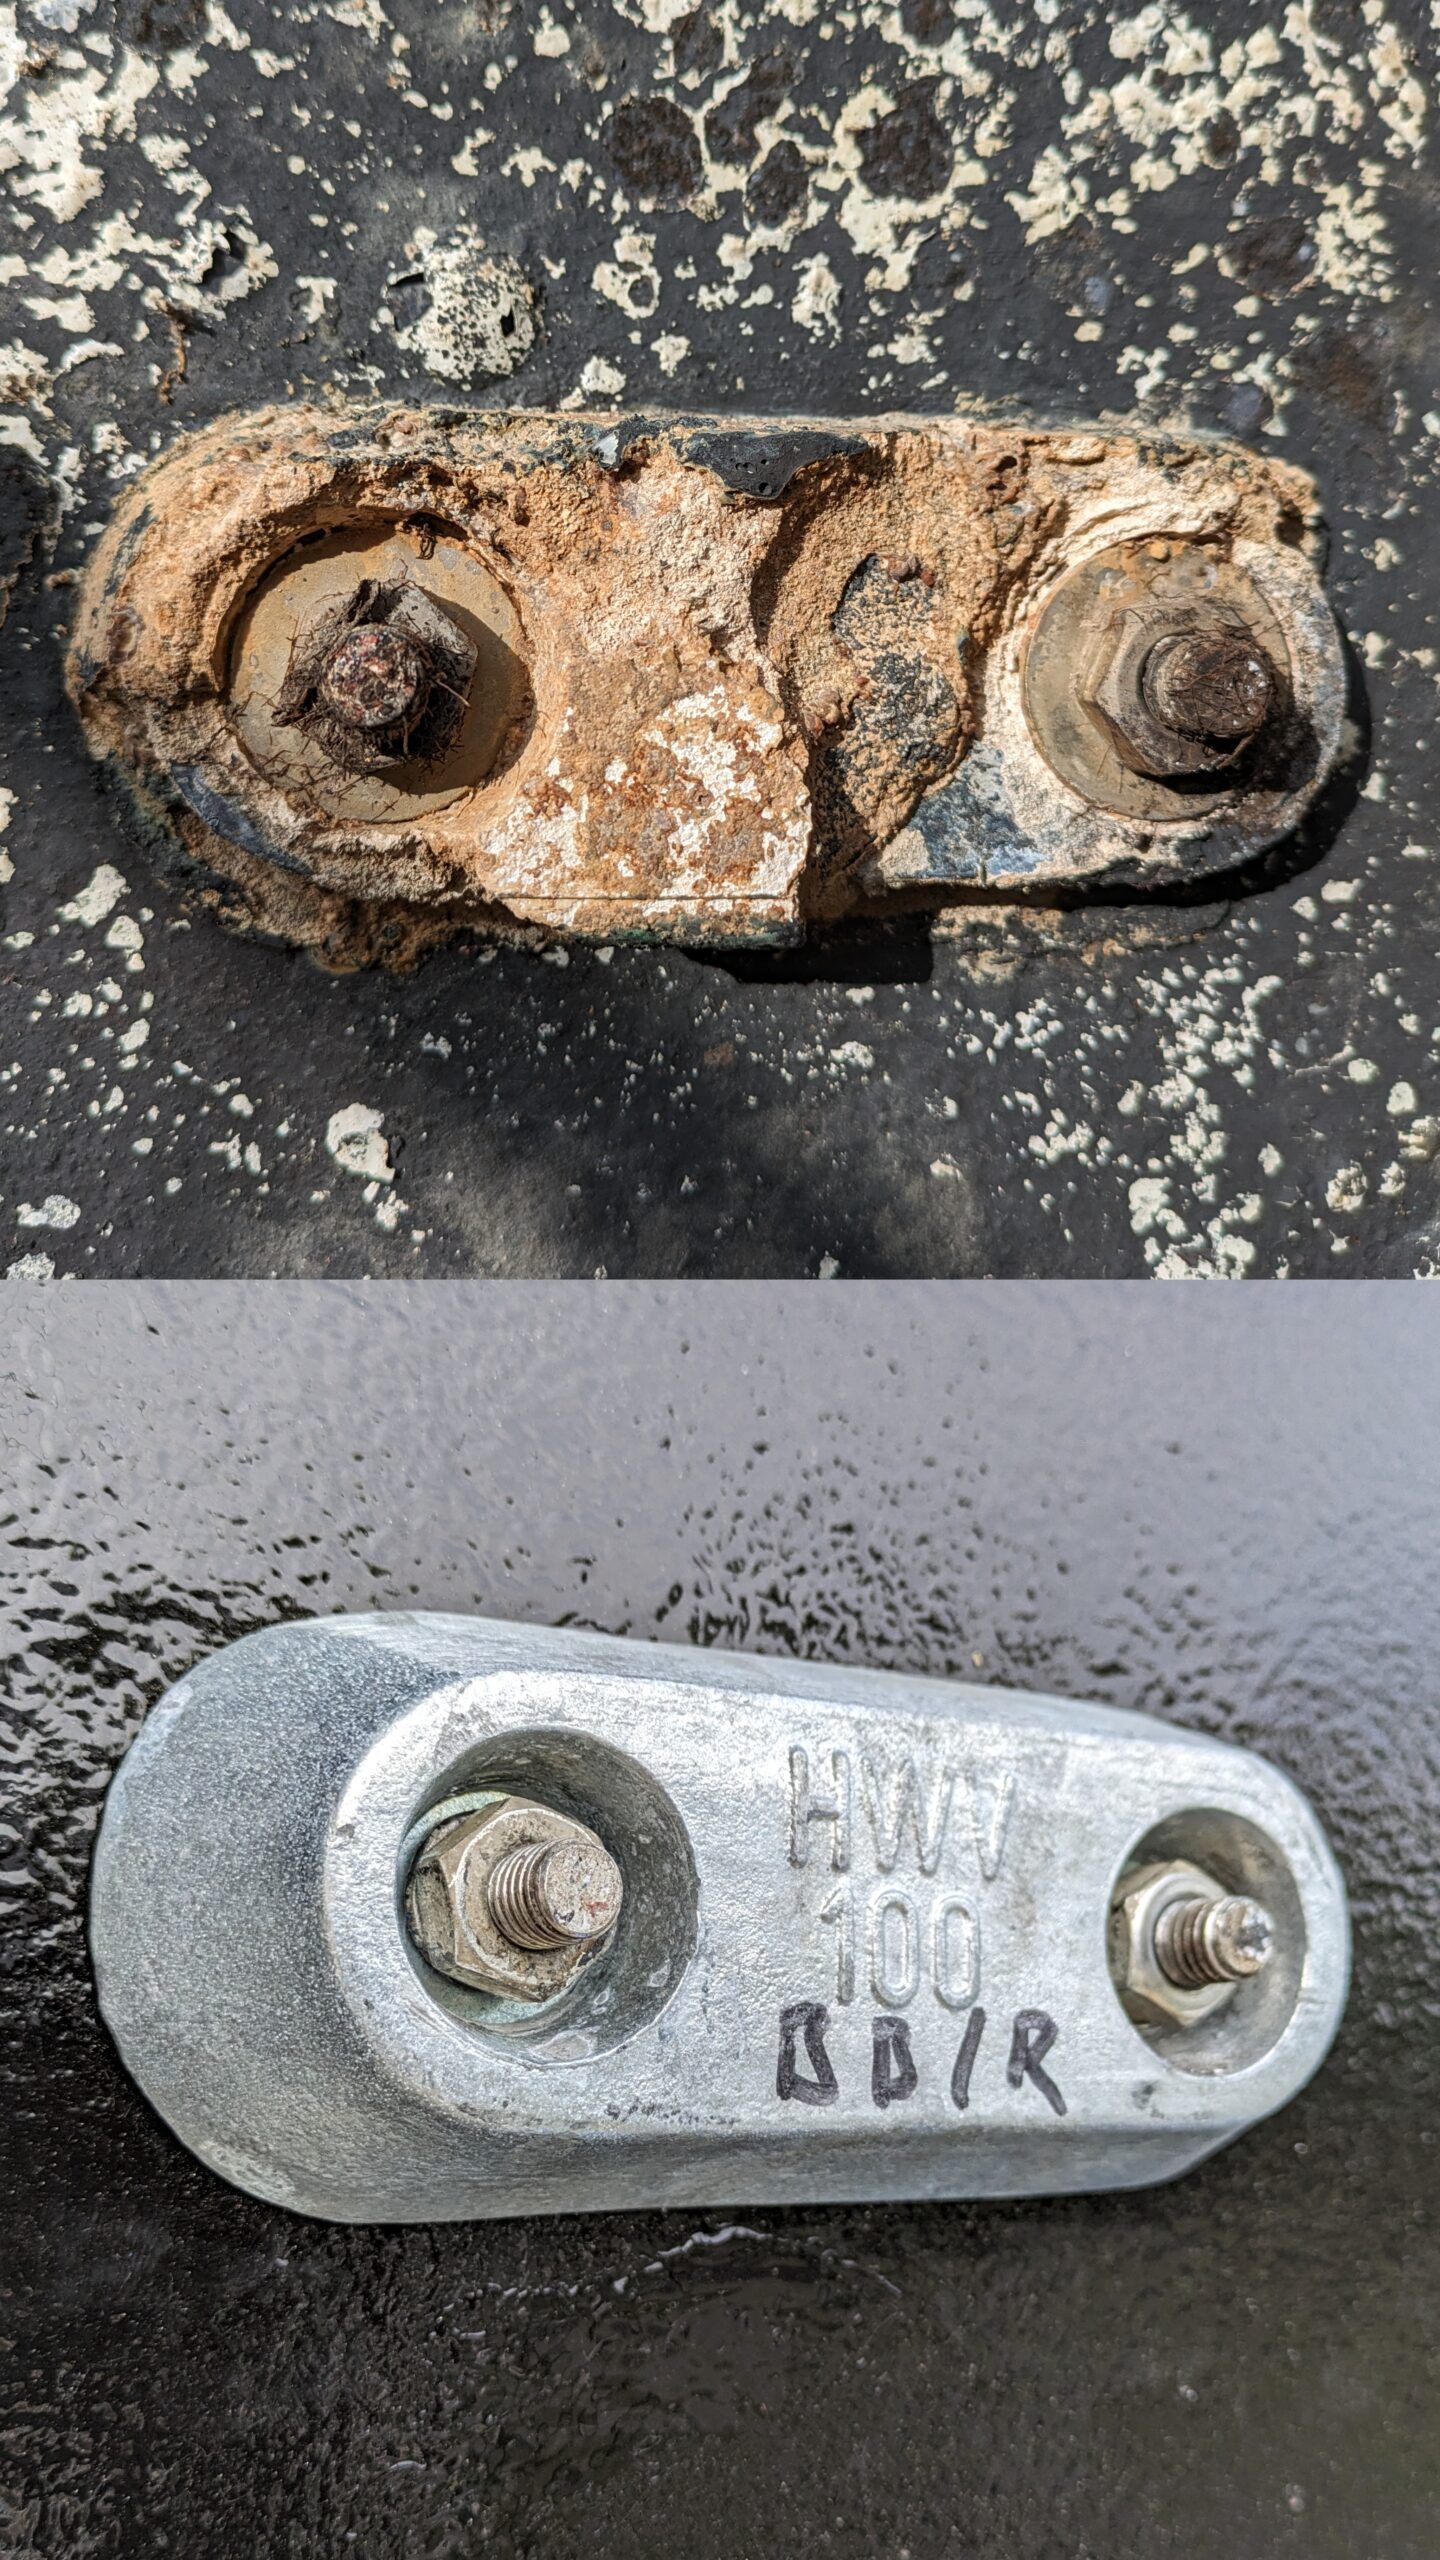
Positioning and Distribution
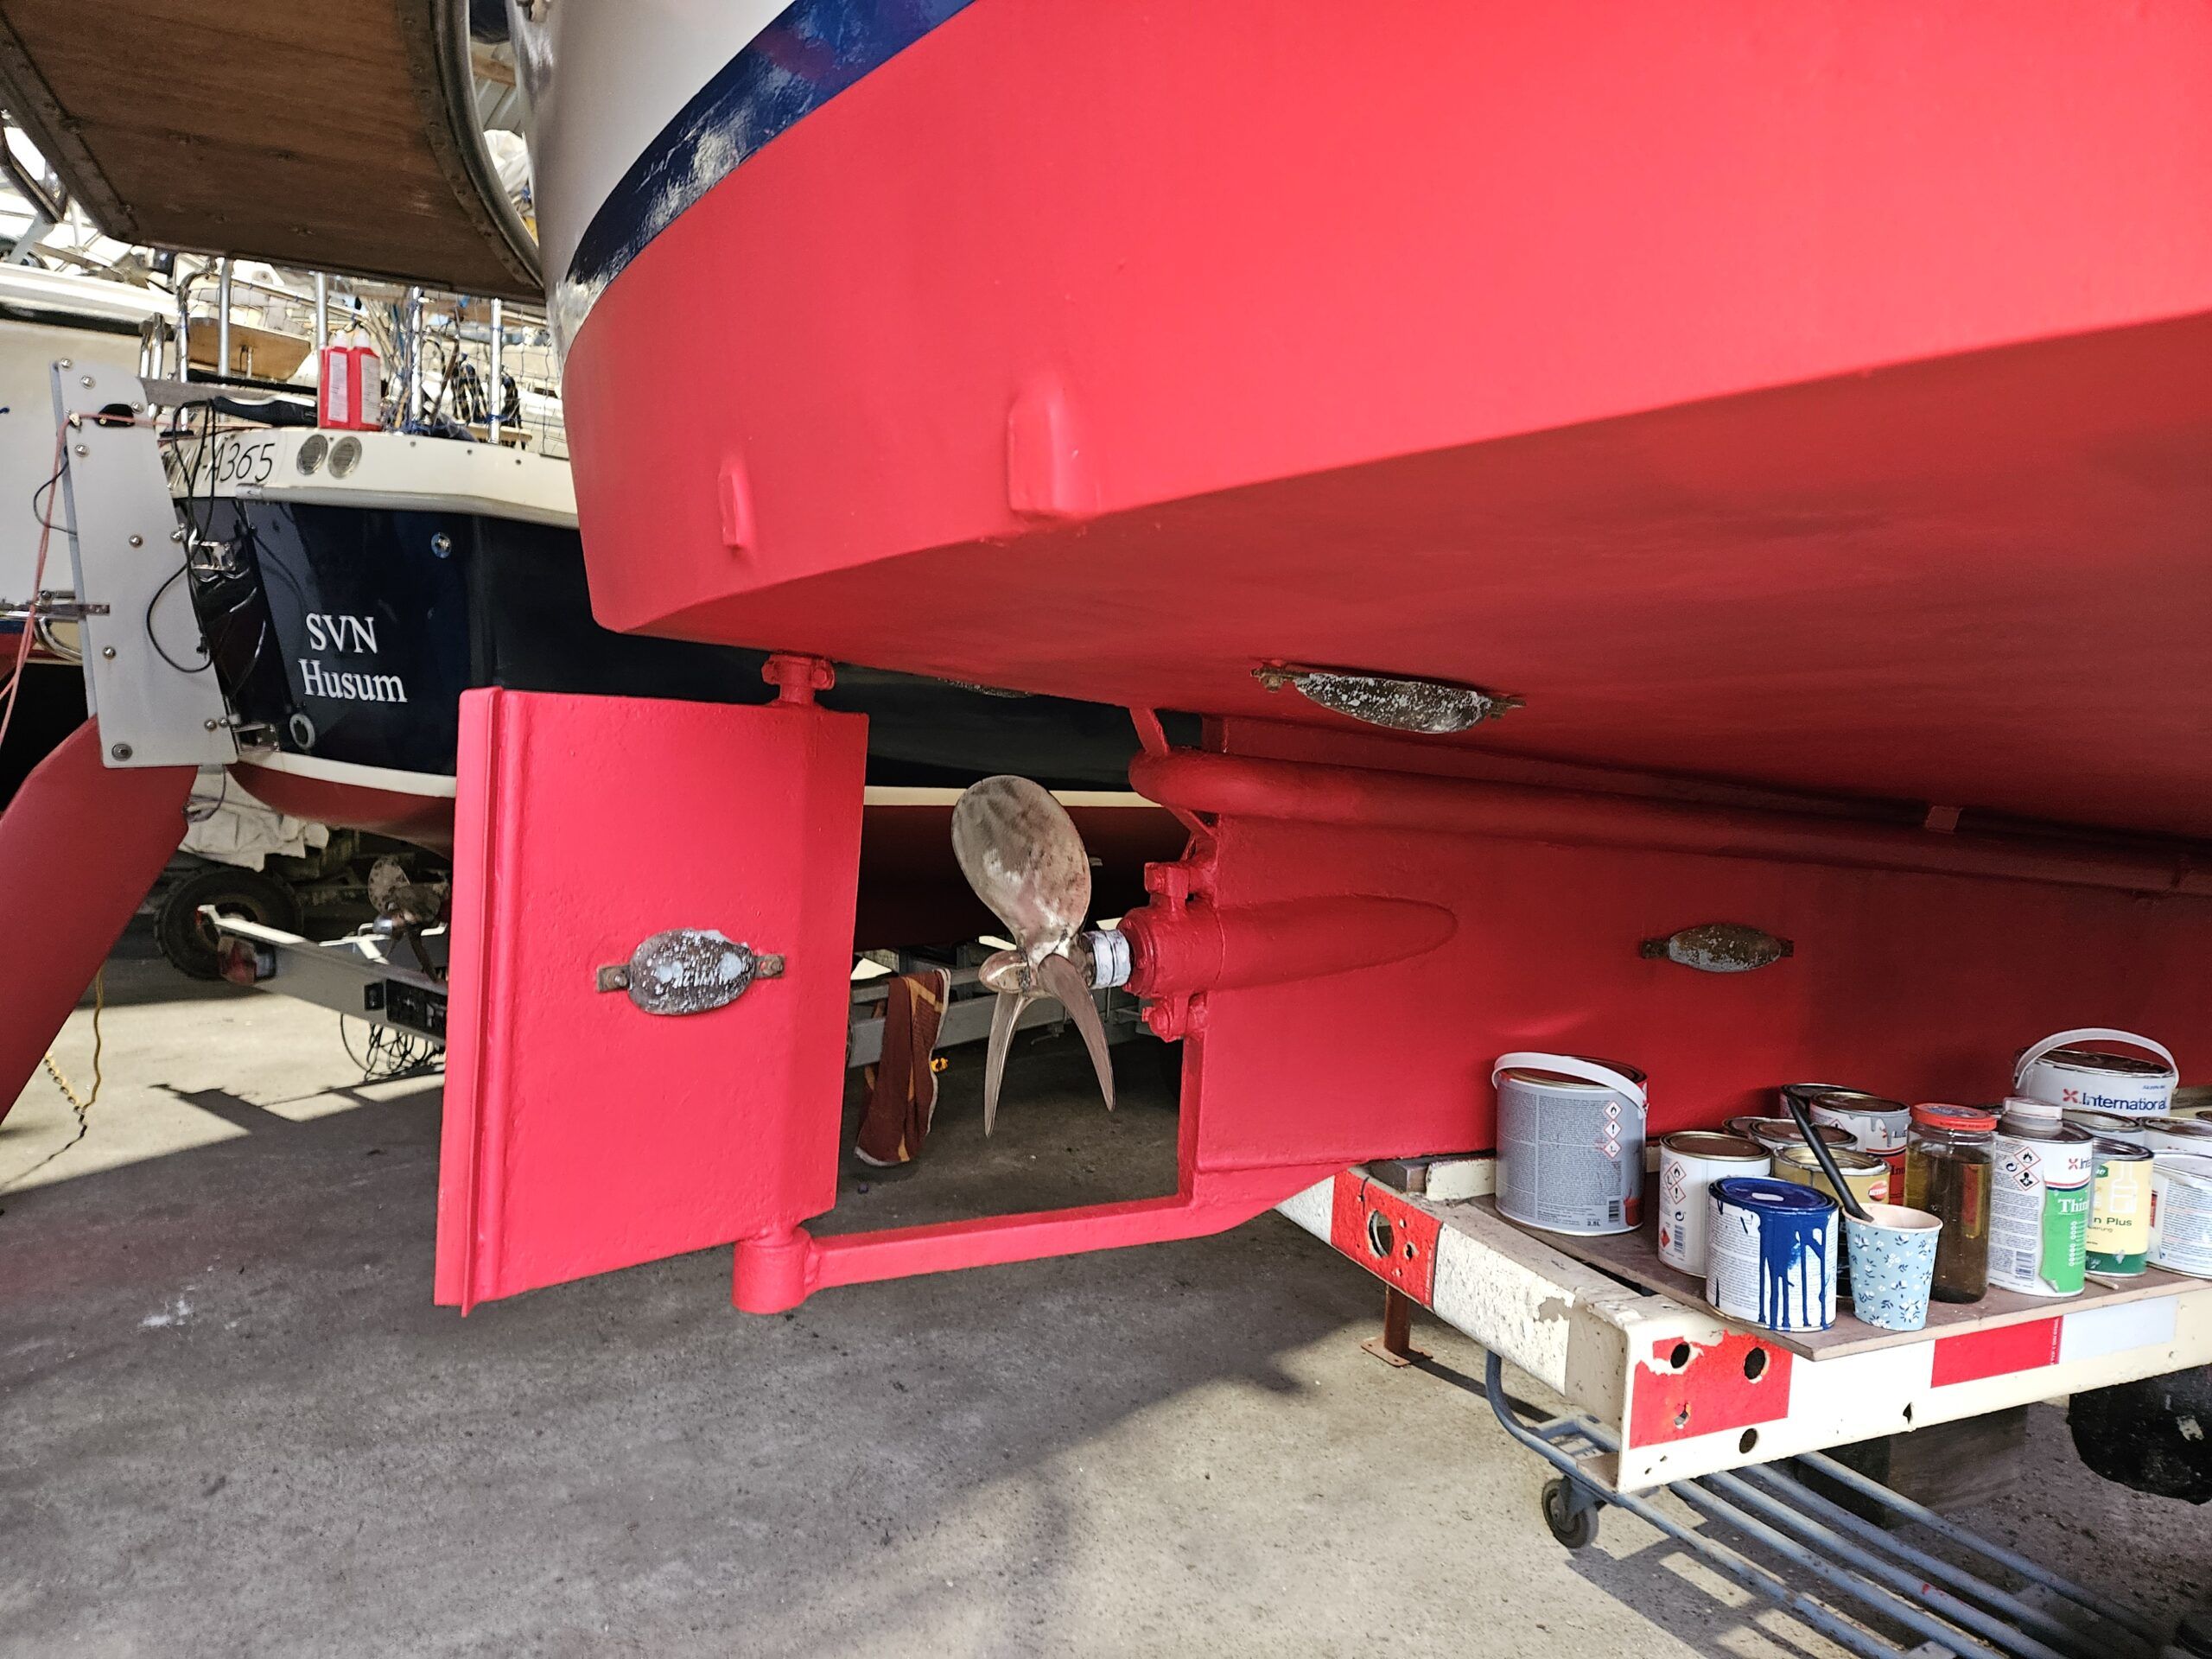
The anodes should be positioned so that they do not interfere with the water flow around the propellers or at the intake and nozzles of the waterjet propulsion system. Flat anodes should be used on the vessel’s hull to minimise hydrodynamic drag.
It is important to distribute the anodes evenly across the underwater surfaces to ensure optimum current distribution and effectively protect the entire vessel. Anodes should not be installed in areas regularly exposed to mechanical stress, such as near the anchor. Around the keel, they should be positioned so that they cannot be damaged when the vessel is docking or being berthed.
Installation
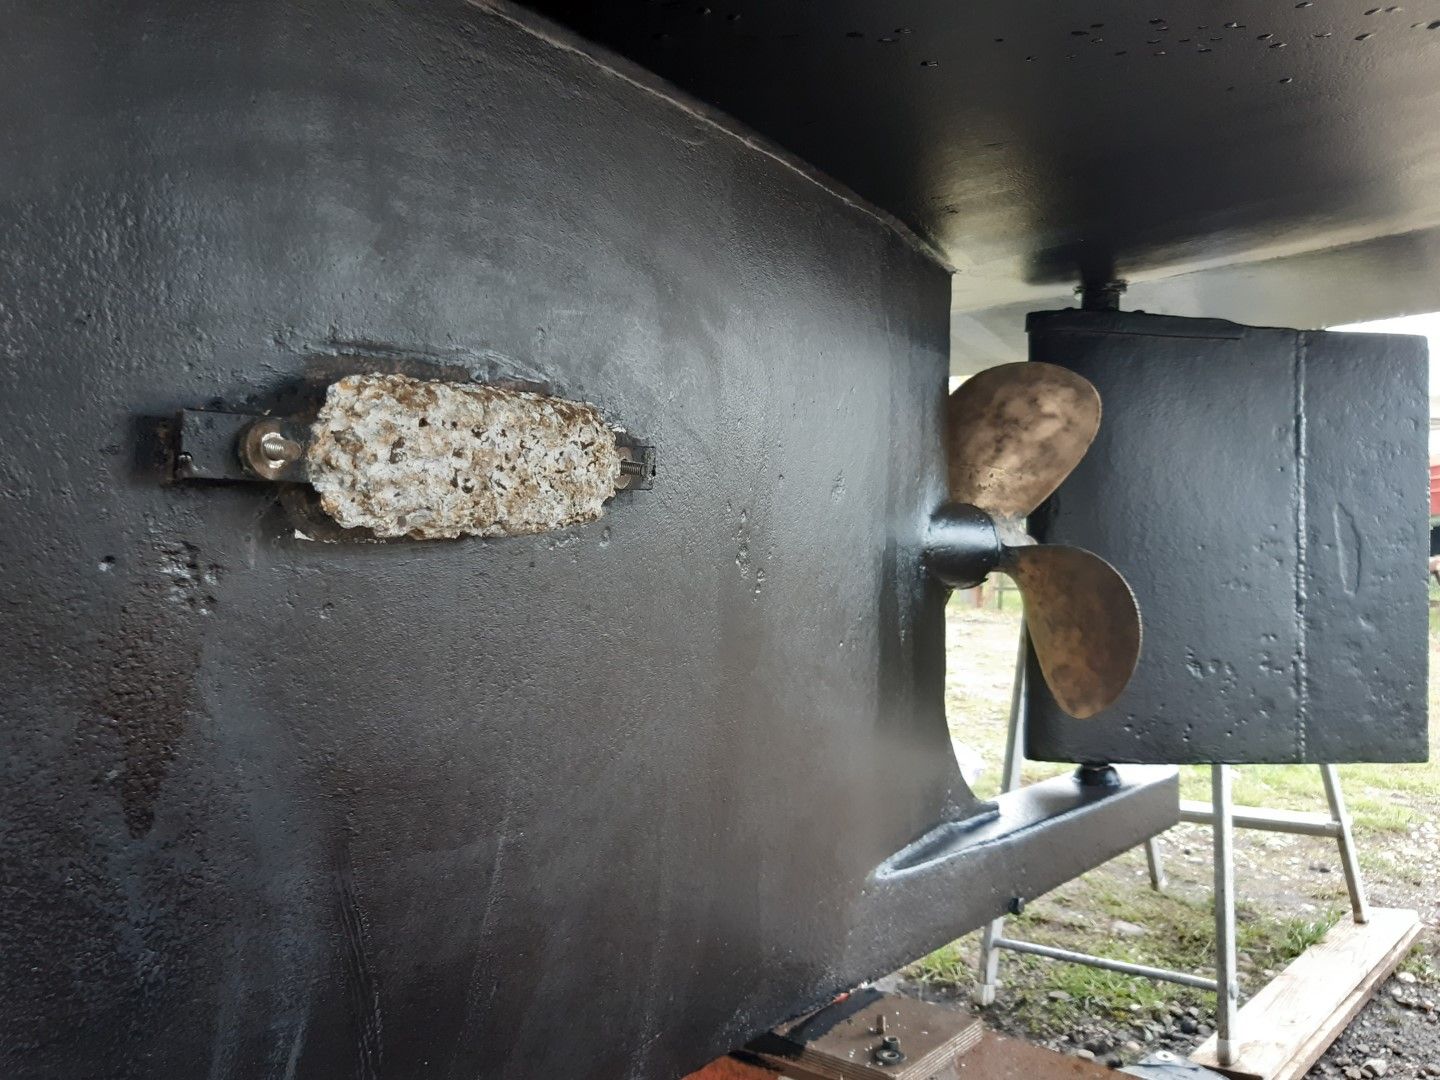
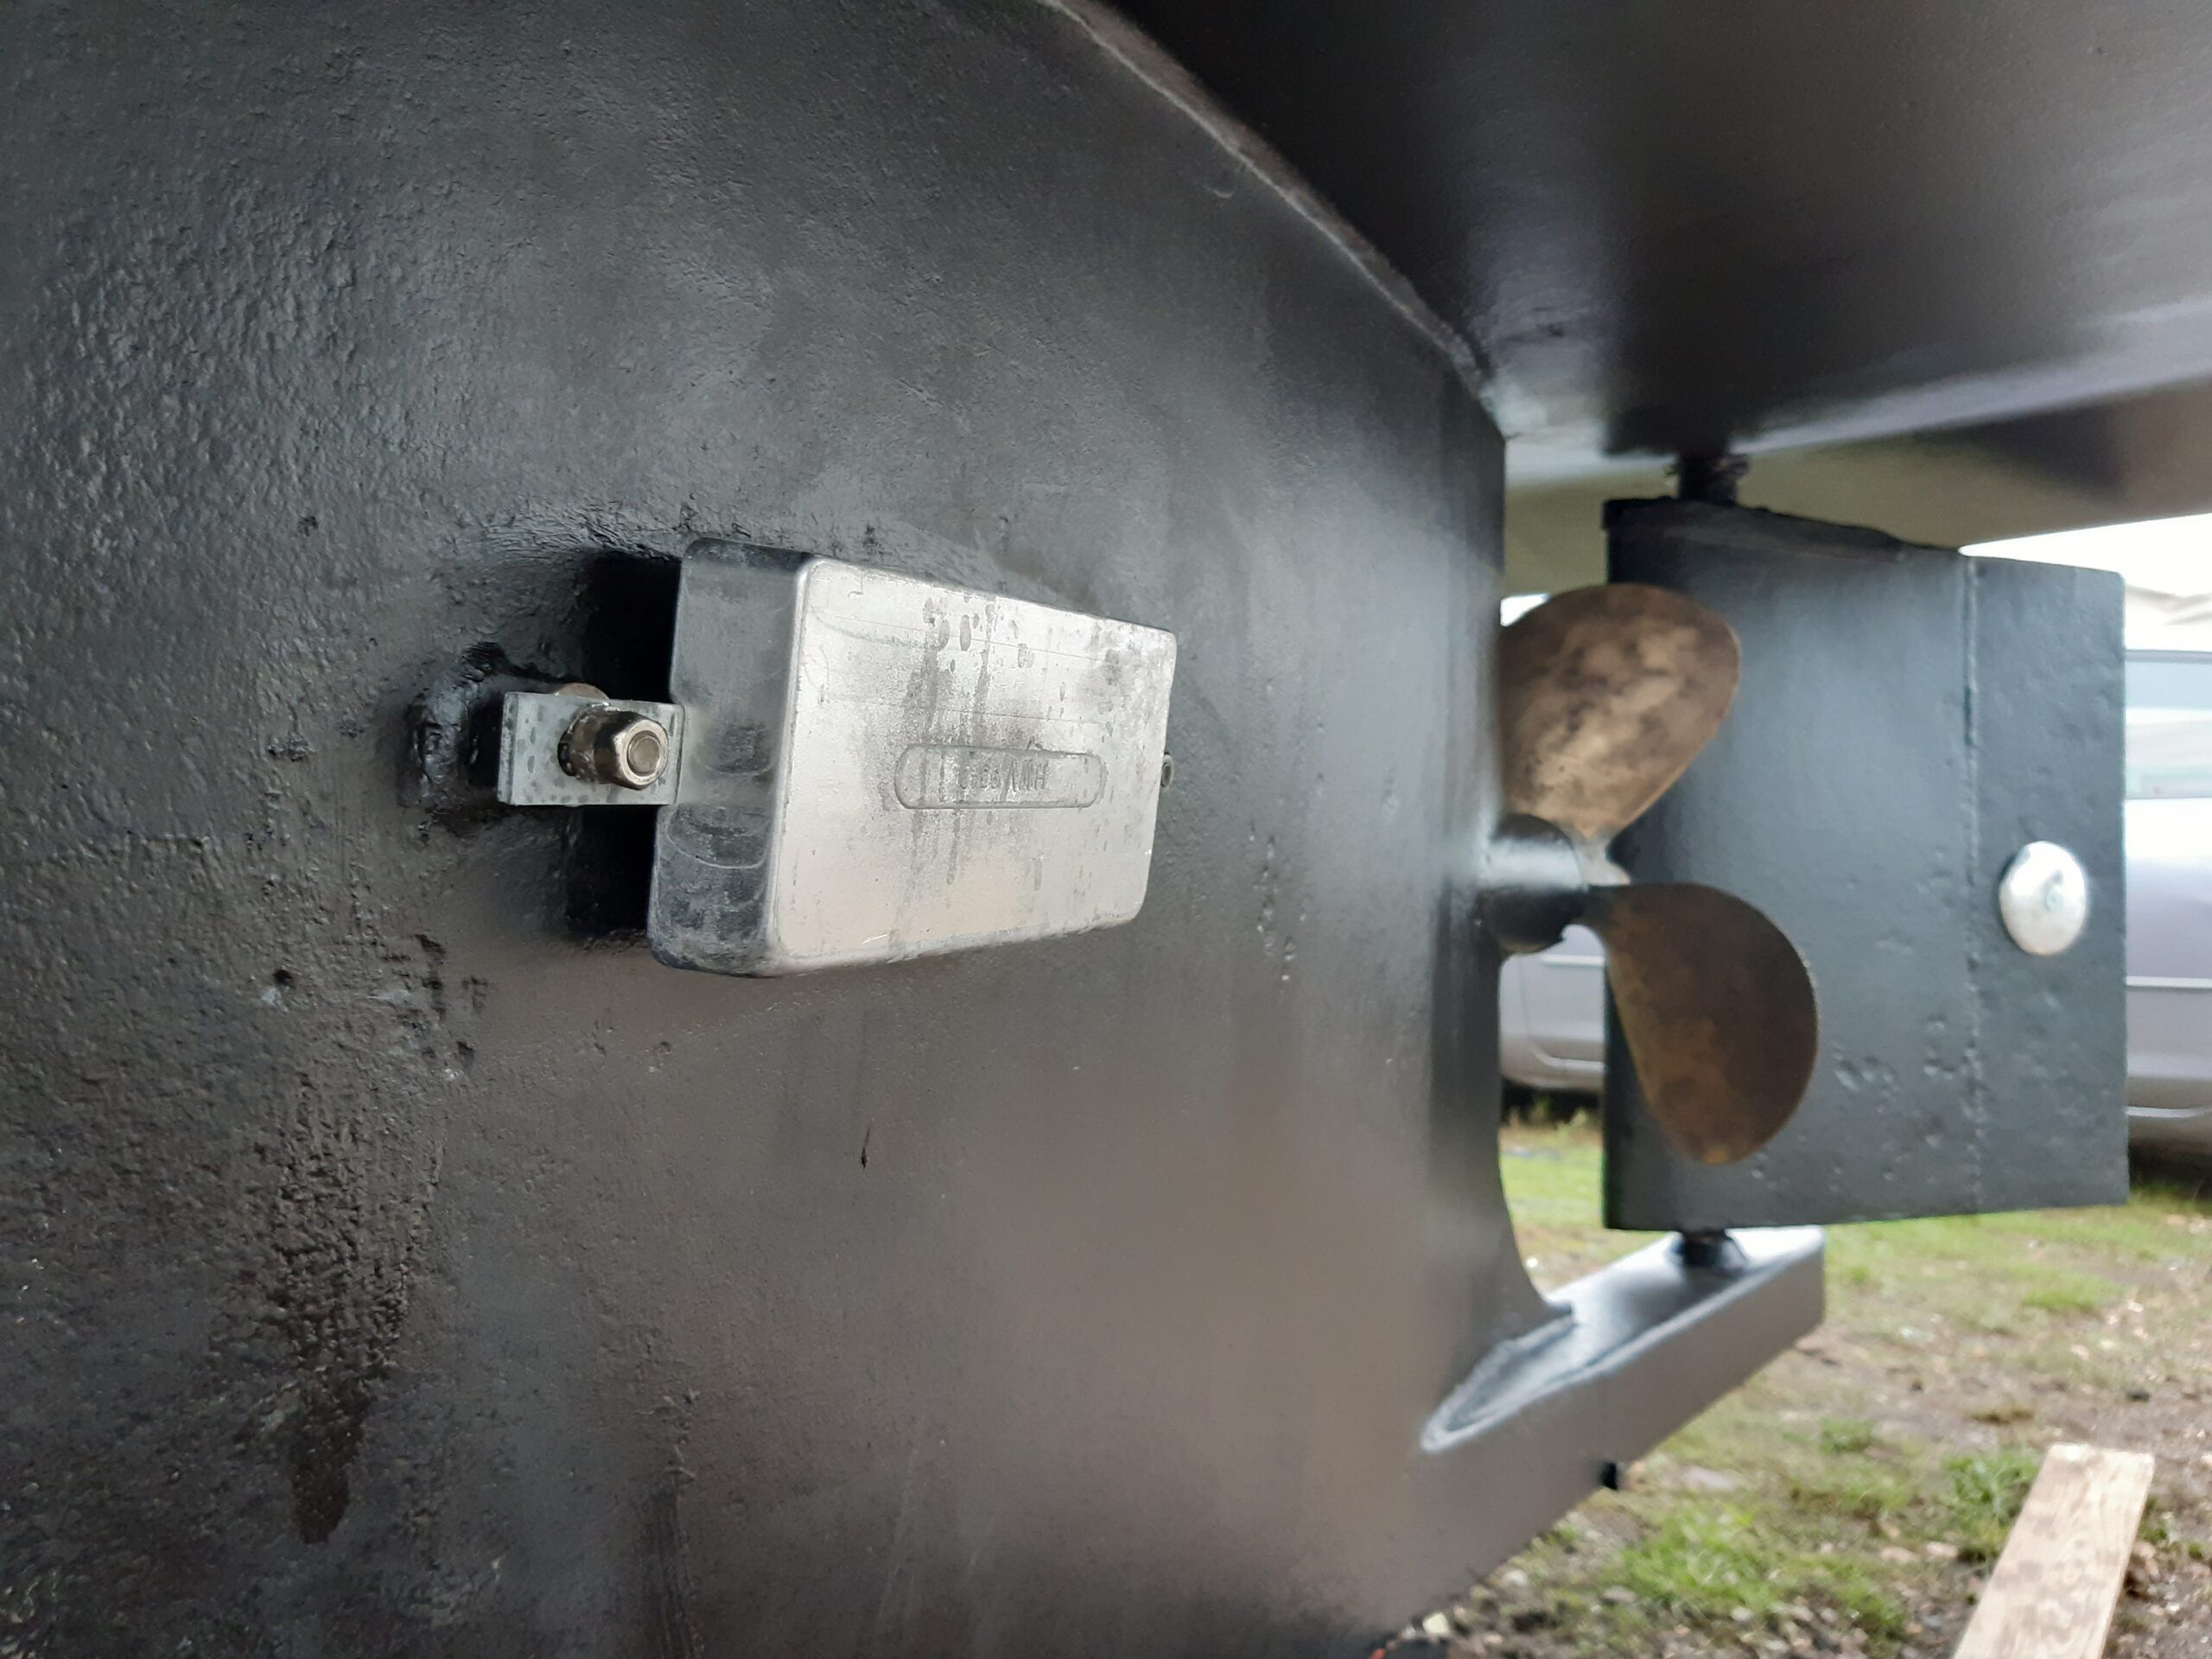
There are two main methods for installing hull anodes: welding them directly to the hull or mounting them onto studs. The appropriate method depends on the specific application and requirements. Both methods provide a secure installation and establish the necessary electrical connection between the sacrificial anode and the hull
Mounting on Studs
Mounting anodes on studs offers a simple installation method. It is generally quicker and easier than welding because no welding work is required. This method also provides a high degree of flexibility, as the anodes can be easily replaced when necessary, making maintenance considerably easier.
However, this method also has some disadvantages. If installed incorrectly, the electrical connection between the anode and the hull may be disrupted, increasing the risk of corrosion. Under demanding operating conditions, stud-mounted anodes may also be less secure and could loosen or shift if they are not properly fastened.
To minimise these risks, several important points should be considered. In particular, the contact surfaces between the anode and the studs must be clean and electrically conductive. Using washers can improve the security of the installation by increasing the contact area and ensuring a more even distribution of pressure. The mounting should be inspected regularly so that potential problems can be identified at an early stage. The bolted connections should also always be securely tightened and free from corrosion to ensure a reliable electrical connection.
Welding the Mounting Straps
Welding the anode’s mounting straps to the hull offers several advantages. One of the main benefits of this installation method is the excellent electrical connection it provides. Welding creates a continuous electrical connection between the anode and the hull, which is particularly important for effective corrosion protection. This method also provides a high level of mechanical stability.
However, welding also has some disadvantages. The welding process can heat the hull, potentially causing material changes or deformation in certain cases. Installation is also more complex, as it requires specialist equipment and expertise, increasing both the work involved and the associated costs.
Careful surface preparation is essential for achieving optimum results. The surface must be clean and free from rust and other contaminants. Welding should also be carried out by a qualified specialist to ensure a reliable connection and prevent damage to the material.
Shaft Anodes

Definition – Propeller Shaft
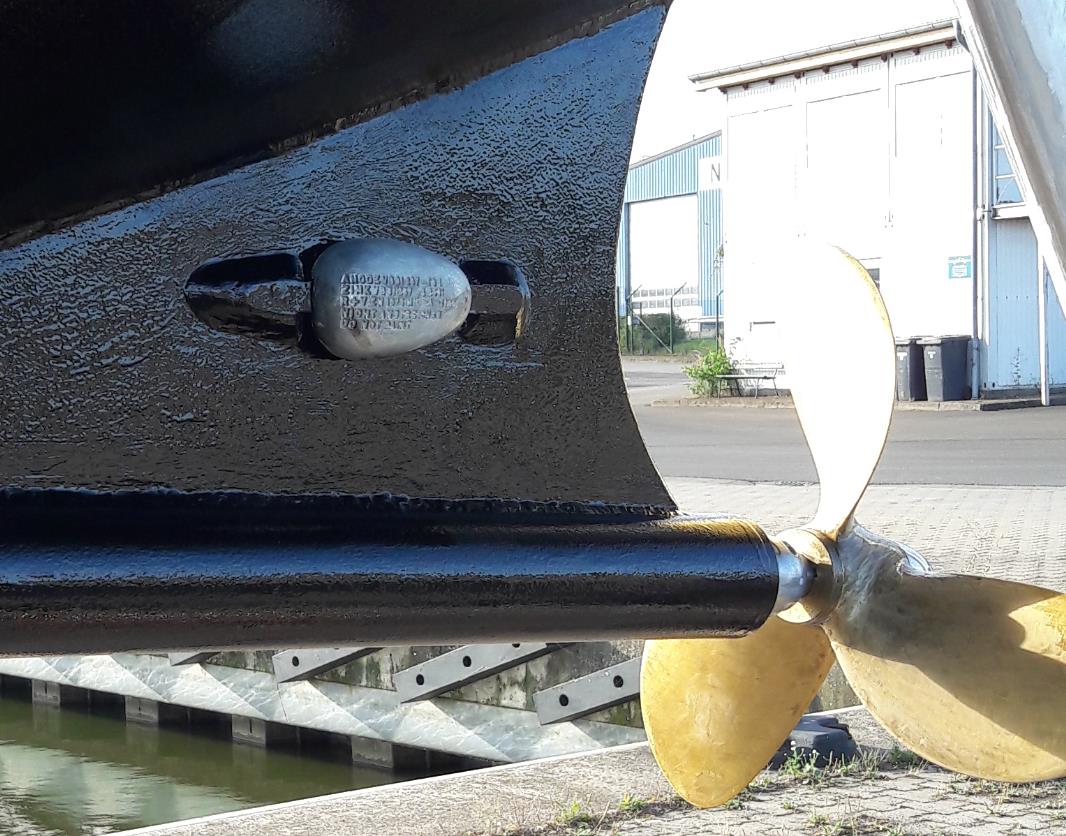
A vessel’s shaft, often referred to as the propeller shaft or drive shaft, plays a central role in its propulsion system. It connects the engine or gearbox to the propeller and transfers the engine’s power to move the vessel through the water. Driven by the engine, the rotating shaft turns the propeller and generates thrust, moving the vessel forwards or backwards.
The shaft is made of metal and remains in constant contact with water, making it susceptible to corrosion, particularly in saline environments such as seawater. Corrosion can compromise the structural integrity of the shaft and, in the worst case, result in propulsion system failure.
Selection & Installation
The correct anode is selected based on the outside diameter of the shaft, which can be measured precisely using a vernier caliper. Manufacturers often specify this dimension, so measuring the shaft may not always be necessary. Shaft anodes are available in two sizing standards: imperial and metric diameters. These may vary depending on the country of origin and manufacturer, so it is important to select the anode according to the measured or specified dimensions.
Clean the shaft thoroughly and remove all residues, as dirt and deposits can impair the electrical connection between the shaft and the anode. Once the shaft is clean, position the two-piece anode precisely around the shaft and tighten the screws evenly to secure it.
Zinc Shaft Anodes – Saltwater & Brackish Water Aluminium Shaft Anodes – Freshwater & Brackish Water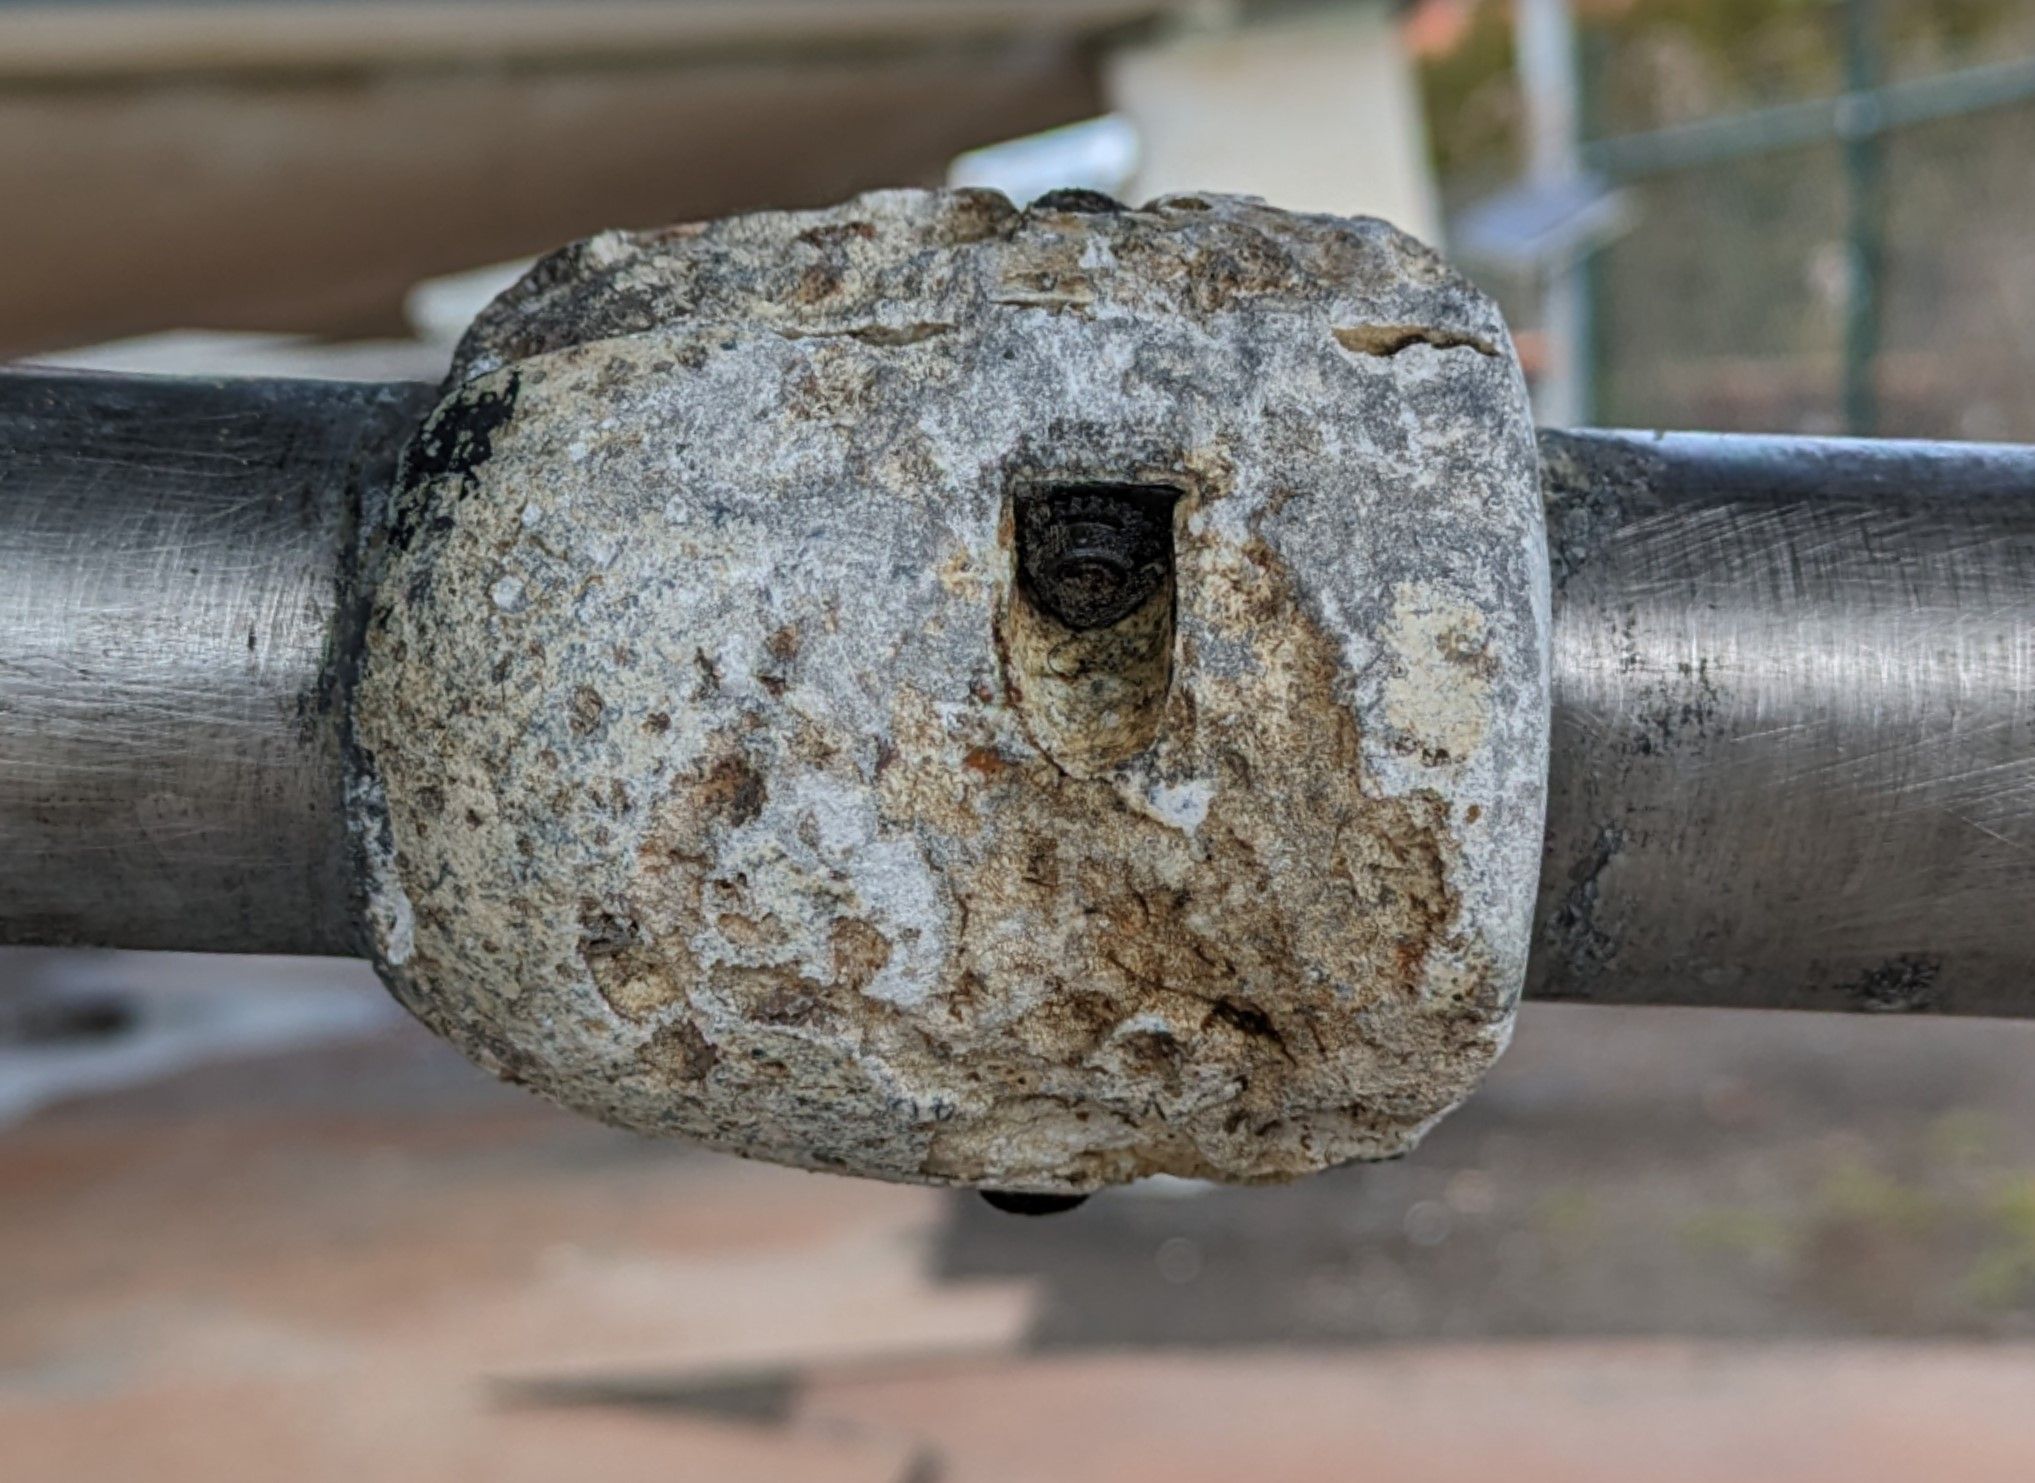
Rudder Anodes


History
The history of marine rudders dates back to ancient Egypt, where simple steering oars were used to control vessels as early as around 3000 BC. In antiquity, the Greeks and Romans used more advanced side-mounted steering oars on their ships.
During the Middle Ages, Scandinavian seafarers revolutionised vessel control with the introduction of the centrally mounted stern rudder. This enabled more precise manoeuvring and made larger vessels easier to control. The invention laid the foundation for modern steering systems and played a crucial role in the development of seafaring.

Definition and Function
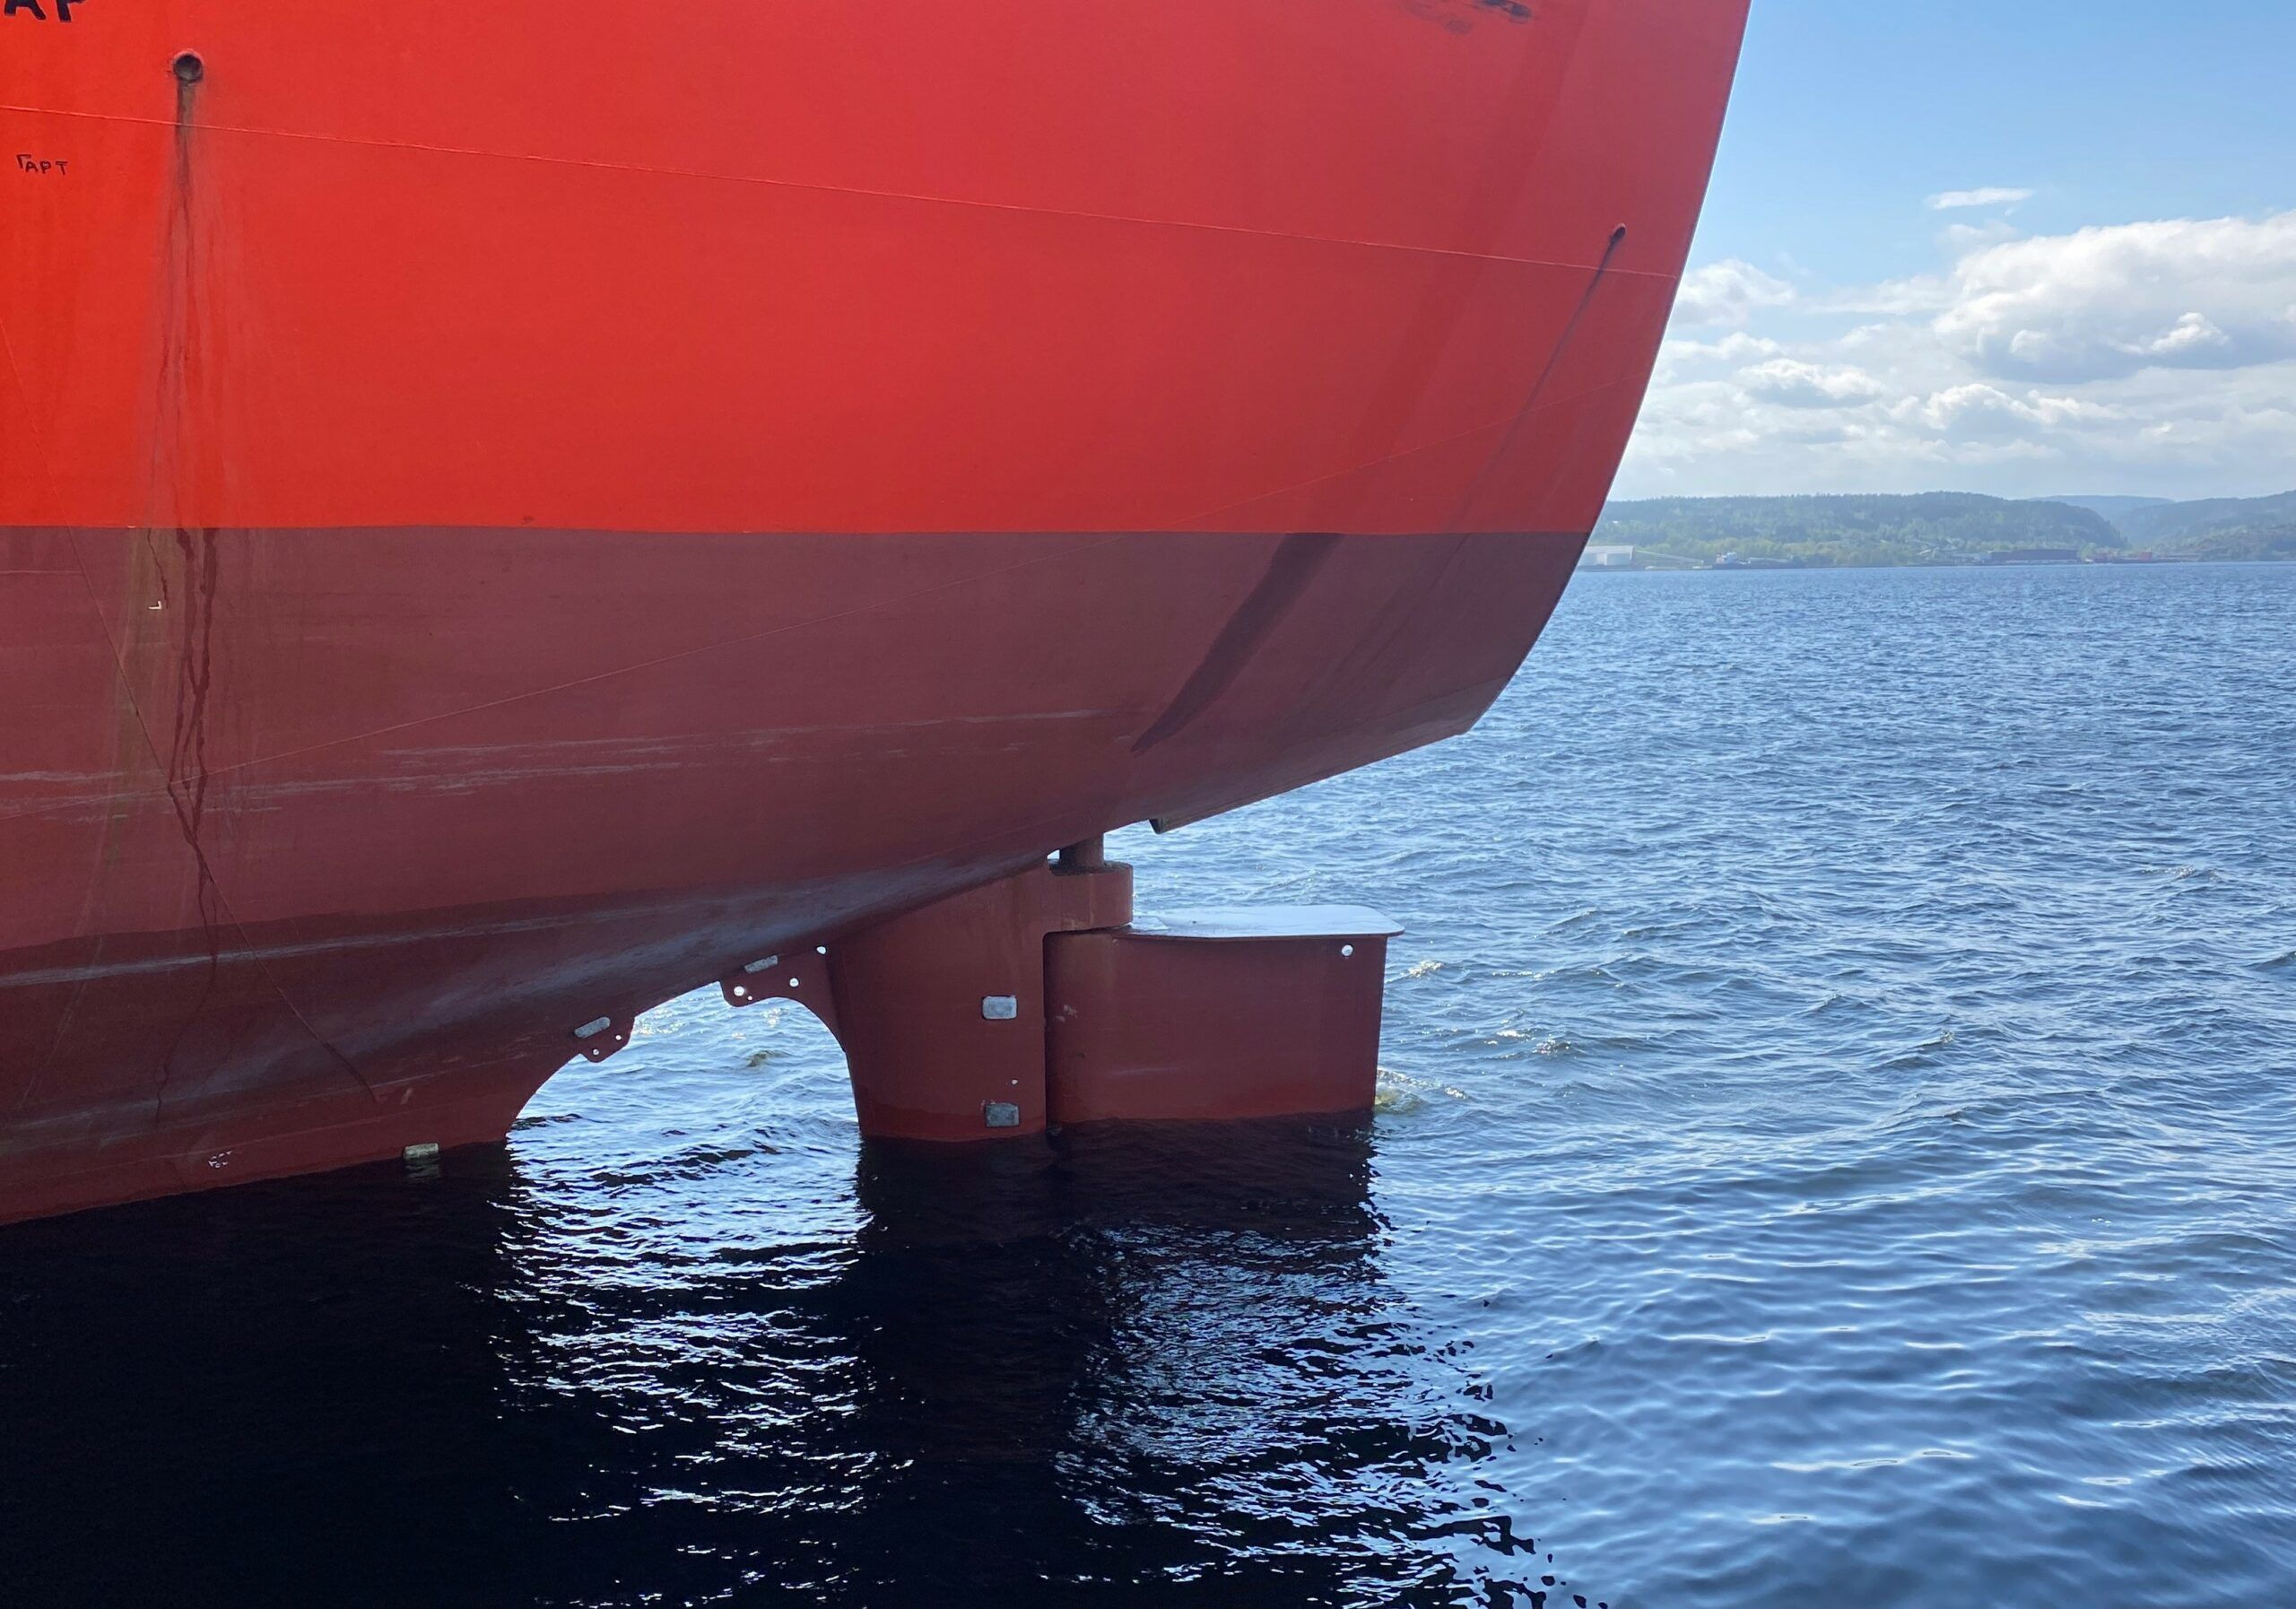
A vessel’s rudder is used to control its direction of travel. It is mounted at the stern and operated using a tiller or steering wheel. Adjusting the rudder redirects the flow of water, causing the vessel to turn. This change in direction enables the helmsman to manoeuvre the vessel precisely.
Sizing
Rudder anodes are sized according to the surface area requiring protection, in a similar way to hull anodes. The required anode mass is calculated based on the exposed surface area to ensure effective corrosion protection. In most cases, the anode is bolted directly to the rudder. To select the correct disc anode, measure the existing threaded connections or mounting holes on the rudder.
Installation
Once the required anode mass, size and suitable mounting points have been determined, the selected anode can be installed. First, remove the depleted anode by loosening the bolts and thoroughly clean the contact surface to create optimum conditions for the new anode.
Next, install the new anode using the previously identified mounting points. Use suitable bolts and nuts to secure it and ensure that the anode is firmly attached.
Zinc Rudder Anodes – Saltwater & Brackish Water Aluminium Rudder Anodes – Freshwater & Brackish Water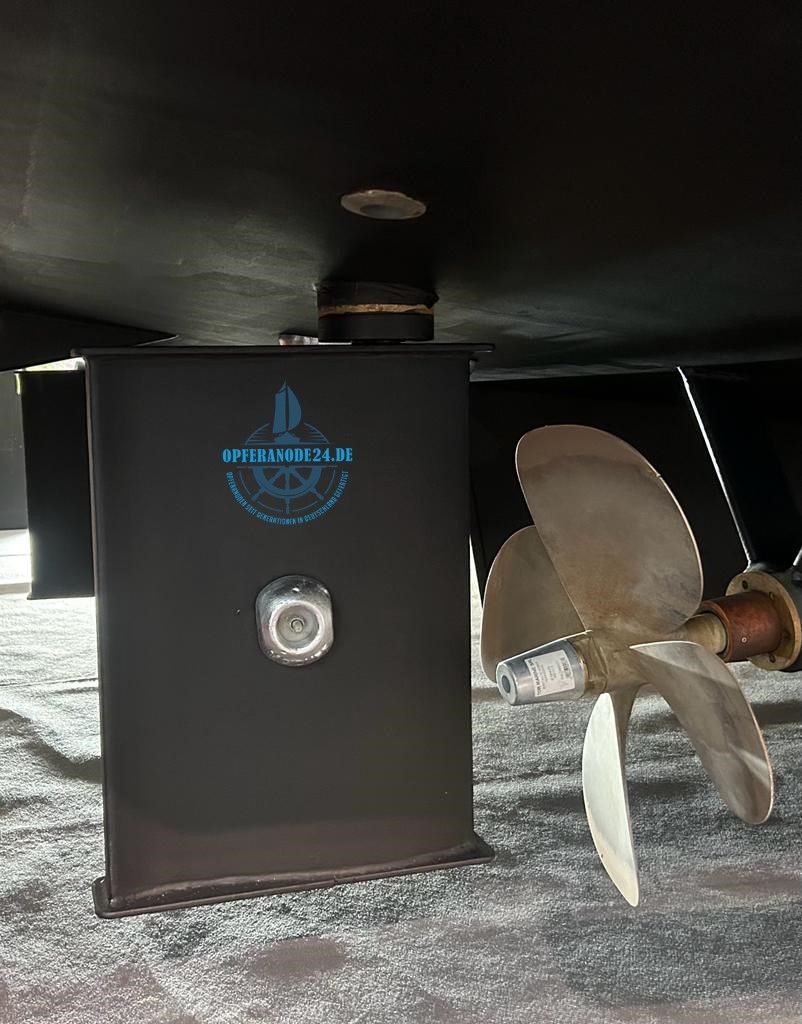
Propeller Anodes
 Zinc Propeller Anodes – Saltwater & Brackish Water
Aluminium Propeller Anodes – Freshwater & Brackish Water
Zinc Propeller Anodes – Saltwater & Brackish Water
Aluminium Propeller Anodes – Freshwater & Brackish Water
Choosing the Right Propeller Anode
Propeller anodes are essential components that protect valuable propellers, which are often made from aluminium bronze alloys or stainless steel, against galvanic corrosion. The anode material must be carefully selected according to the operating environment.
Zinc anodes should be used in saltwater and brackish water, while aluminium anodes are the better choice for freshwater and brackish water to ensure optimum protection.
As with outboard motor anodes, propeller anodes are subject to manufacturer-specific requirements that should be considered when selecting the correct product. These specifications ensure that the anode is fully compatible with the propeller and the entire propulsion system, providing the best possible protection. They also prevent the propeller anode from obstructing the rudder and impairing the vessel’s manoeuvrability.
Installation
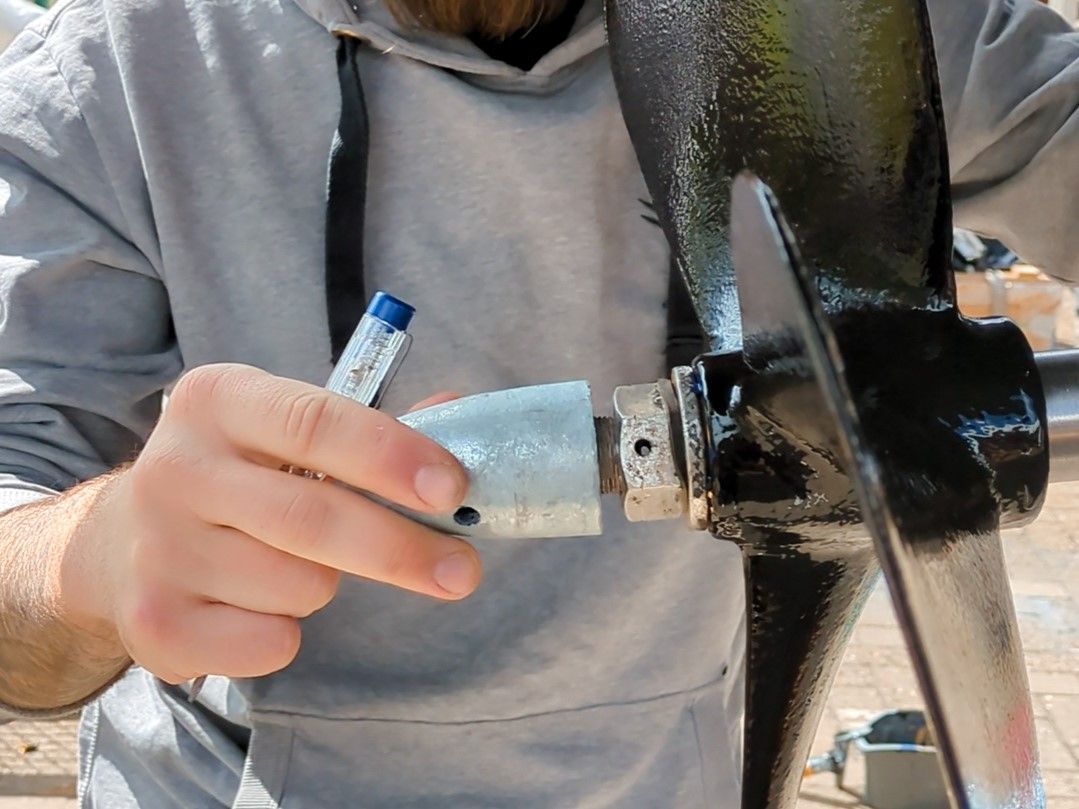
Once the appropriate anode material has been selected and the mounting requirements are understood, the required dimensions can be determined. In most cases, there is a threaded section at the end of the propeller hub that is used to attach the anode. This threaded section provides the electrical contact with the propeller and therefore creates the connection required for effective corrosion protection.
The thread can be accurately identified using a vernier caliper and a thread pitch gauge. Both measurements are essential for selecting the correct anode thread size and ensuring a secure and effective installation.